
2011-2018 Ford Focus ST Wotbox Installation How-To
Published by Stephen on Jun 23rd 2019
Tired of the same old boring 2step that everyone else has with the COBB Accessport?
The N2MB Wotbox is the perfect solution to get a more aggressive sound as well as an added bonus of shooting some fire. (Who doesn't love some fire, right?!).
The Wotbox install is pretty straight forward and can be installed within about an hour to an hour and a half based on your wiring experience and confidence.
ALL PICTURES OF THE WIRES CONNECTED IN THIS WRITE-UP ARE TO SHOW WHERE THEY GO. YOU WILL
NEED TO HEATSHRINK AND TAPE ALL WIRES TO FINALIZE THE CONNECTION.
Step 1: Find your wotbox mounting location, the location should be inside the vehicle. We chose to use the passenger side kick panel.
Step 2: Route the wotbox harness connector inside the vehicle through the factory wire harness grommet on the passenger side wirewall. After the harness connector has be pulled through, pull the green and blue wires inside with it as well as the black wire that is used as a ground wire.
Step 3: Route the Green wire and Blue wire over to the drivers-side under the steering column. How you route these wires is entirely up to you as there is not much space to fish them behind heater box. We opted to keep the wires under the carpeting/floor mats and pass through the bottom of the center console.
Step 4: Route the Red, Orange and the Yellow wires to the front of the engine near the valve cover safely.
Step 5: Ensure the wotbox is in its location you want it to stay in before cutting the wires to appropriate length.
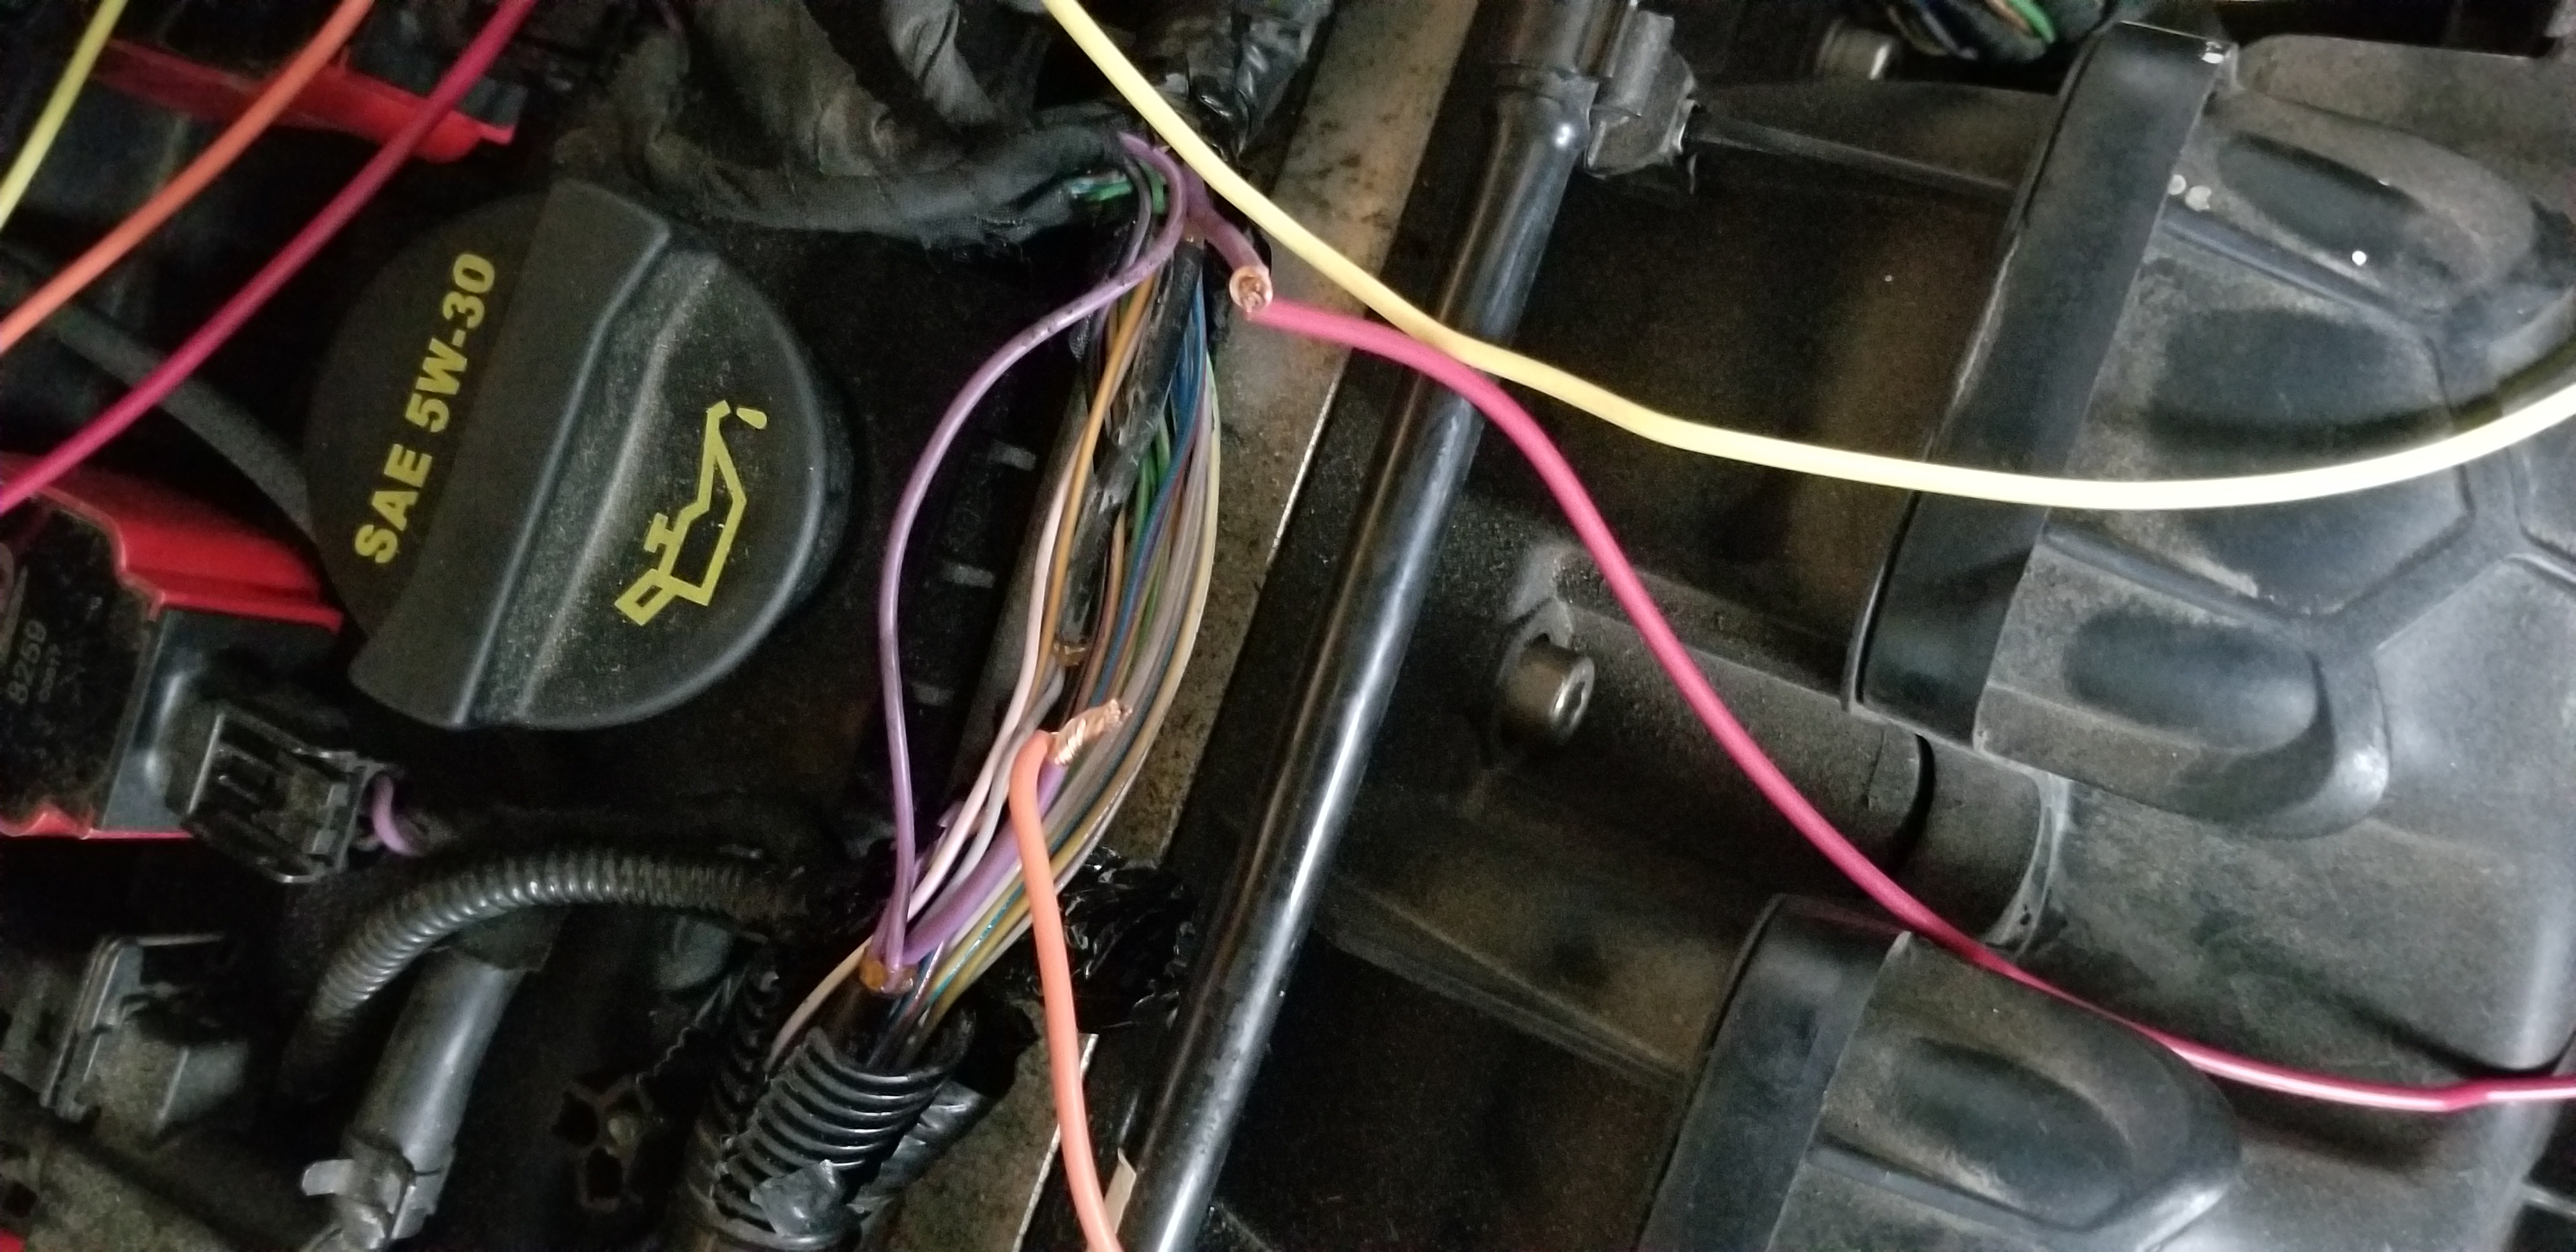
Step 6: De-loom the factory engine harness near the ignition coils and frontal cam sensor. You will be looking for the solid purple wire that splits the power to ALL the ignition coils. We found ours near the oil cap and are guessing that yours will be within the same general area. Cut this wire about an inch before it splits to the 4 wires. The ORANGE wire will go towards the coils and the RED wire will go away.
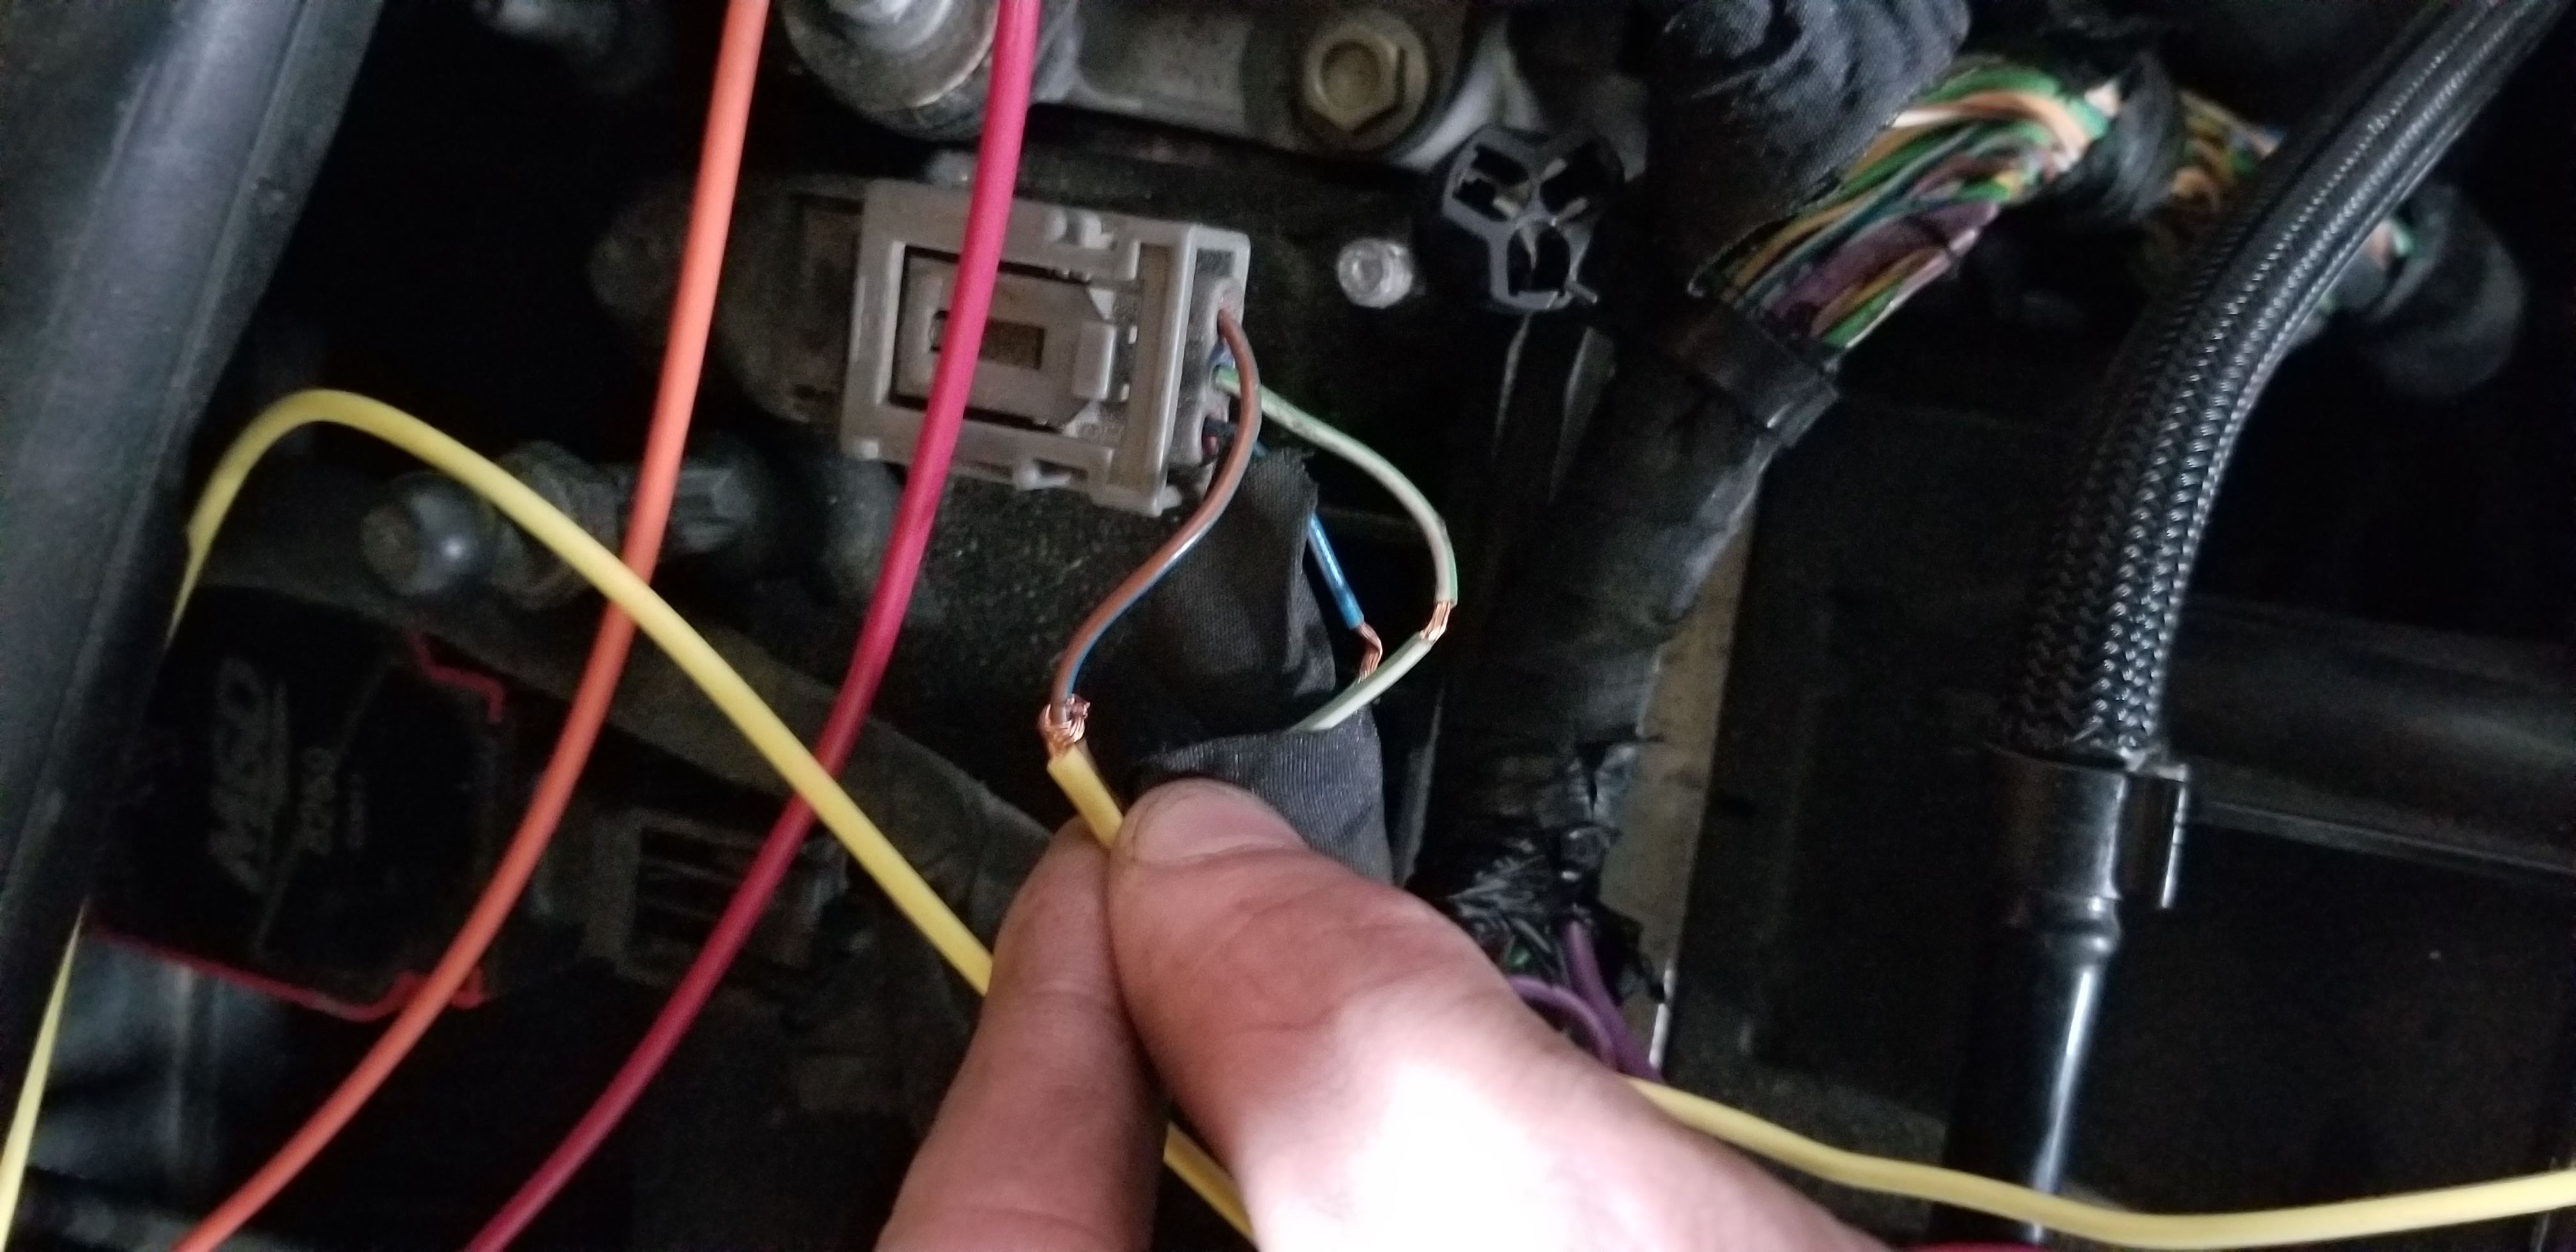
Step 7: Pull back the harness at the frontal Cam sensor on the valve cover.The Brown w/Blue strip wire is the wire we will be using for the RPM signal. Cut the yellow wire to appropriate length and tap it into this wire.
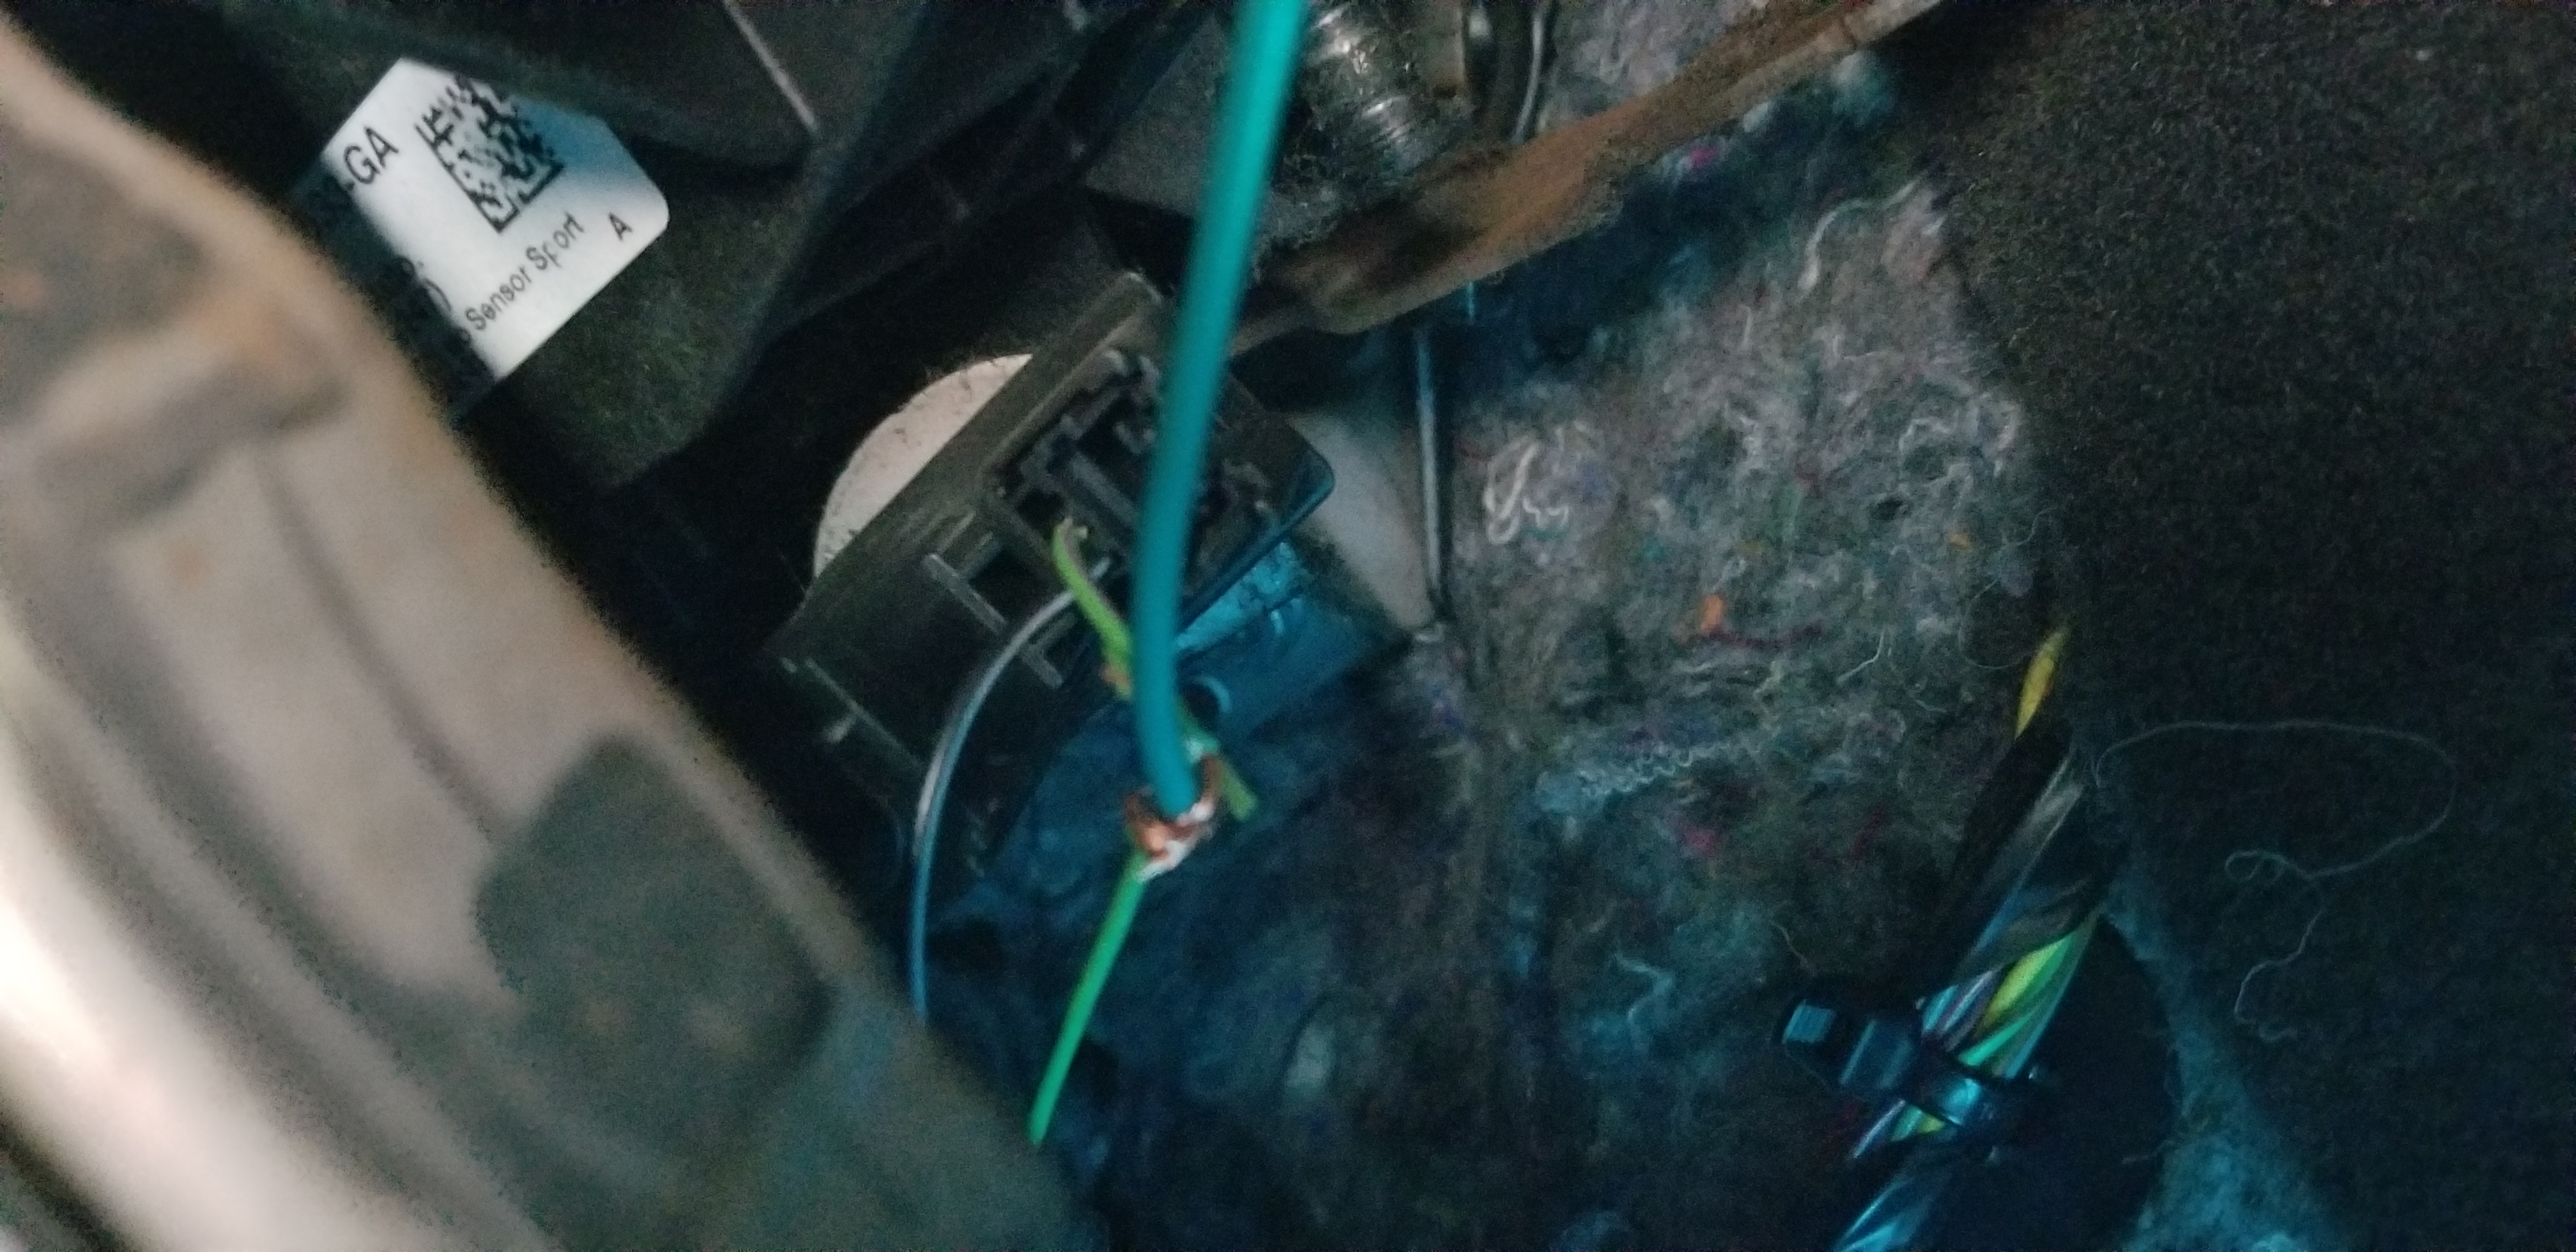
Step 8: For the Throttle source we will be going off the connector at the accelerator pedal. The Yellow w/Orange wire is the wire we will be using for Throttle Input. Cut the Blue wire on the wotbox harness to appropriate length and tap into this wire.

Step 9: For the Clutch input we will be unsing the Green w/Black strip wire at the clutch pedal. Cut the Green wire on the wotbox harness to appropriate length and tap into that wire.
Step 10: DO NOT make all your connections sealed yet at this point. Get your laptop and connect it to the wotbox. If you bought the wotbox through us you should be able to skip this step if we had set it up for your vehicle already. However you will need to do the follwing if you have not.
-Check the box to invert the clutch position (click write) and observe the clutch input signal
in the bottom right box. With your foot off the clutch pedal it should read "UP" and with your foot
on the clutch pedal it should read "DN". Now we have confirmed that the clutch signal is working
properly.
-Next the Ignition RPM Source will need to be changed. In the drop-down menu you will need to select
"OTHER - Ignition Signal"
- The ignition signal given will not match the requested RPM from the launch control box. The requested
RPM will be much lower when you test the 2-step. we found 11,200RPMS to be around 5000RPMS " we tested
this in 500RPM increments and it does work, might seem a little sketchy but, it is what it is.
Step 11: Test the wotbox 2-step function and No-Lift-Shift. Once verified the box is operating properly
you can clean up all the wiring and finalize installation. You now have a functioning wotbox installed
in your Ford Focus ST.
-Stephen @ SP Tuning LLC