

SP Tuning 2G DSM PnP Rolling Antilag Harness Installation Instructions
Published by Stephen Petrie on Jul 6th 2022
SP Tuning 2G DSM PnP Rolling Antilag Harness Installation Instructions
Installation Time: ~30 Minutes
Drivers Trim Panel Location
Tools Needed:
- Drill
- Step-bit or similar size drill-bit to button body
- Small flat head screwdriver or pick
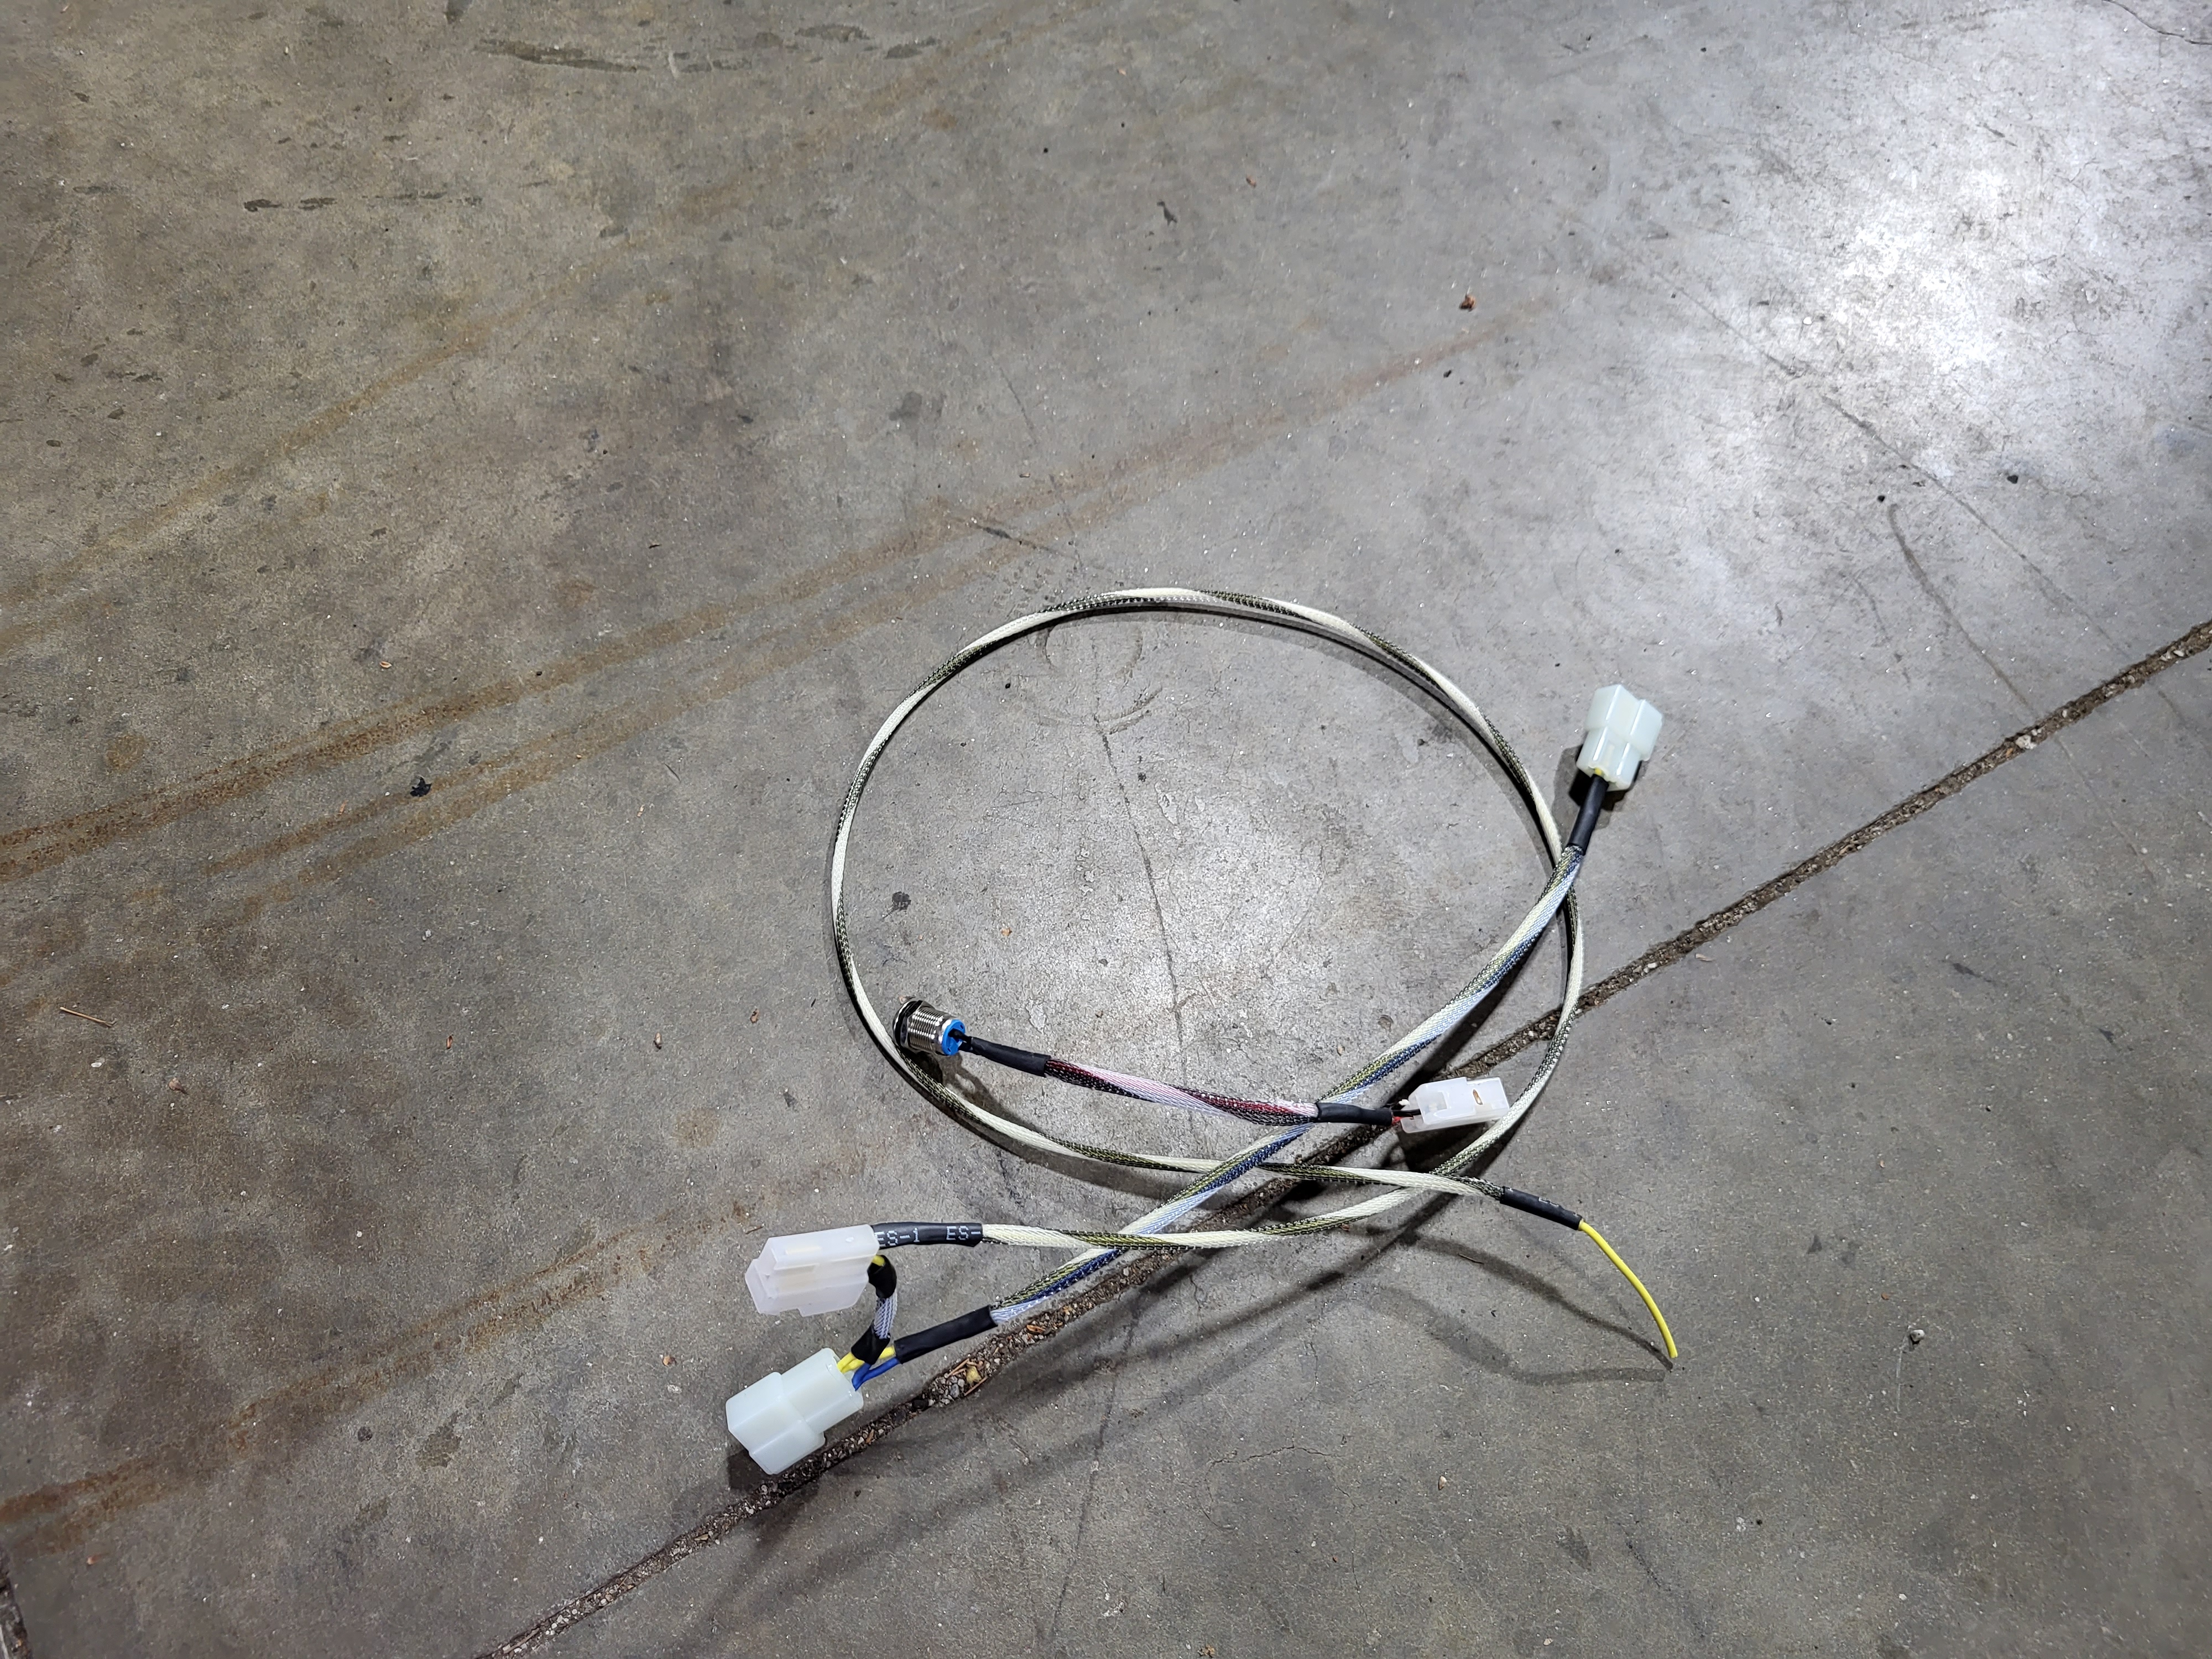
Step 1: Lay out your harness, it should be received with the button having two open pins, an empty connector and the main harness assembled (Harness assembled in picture below).
Step 2: Remove this trim piece from your dash. You will then use a step-bit or similar sized drill bit to allow the body of the button to pass through the opening you have created. The hole should be made on the bottom right corner of the trim piece. Pass through the hole the two open terminals from the button and then slide the lock ring for the button through the back and tighten into place. It should look like this:
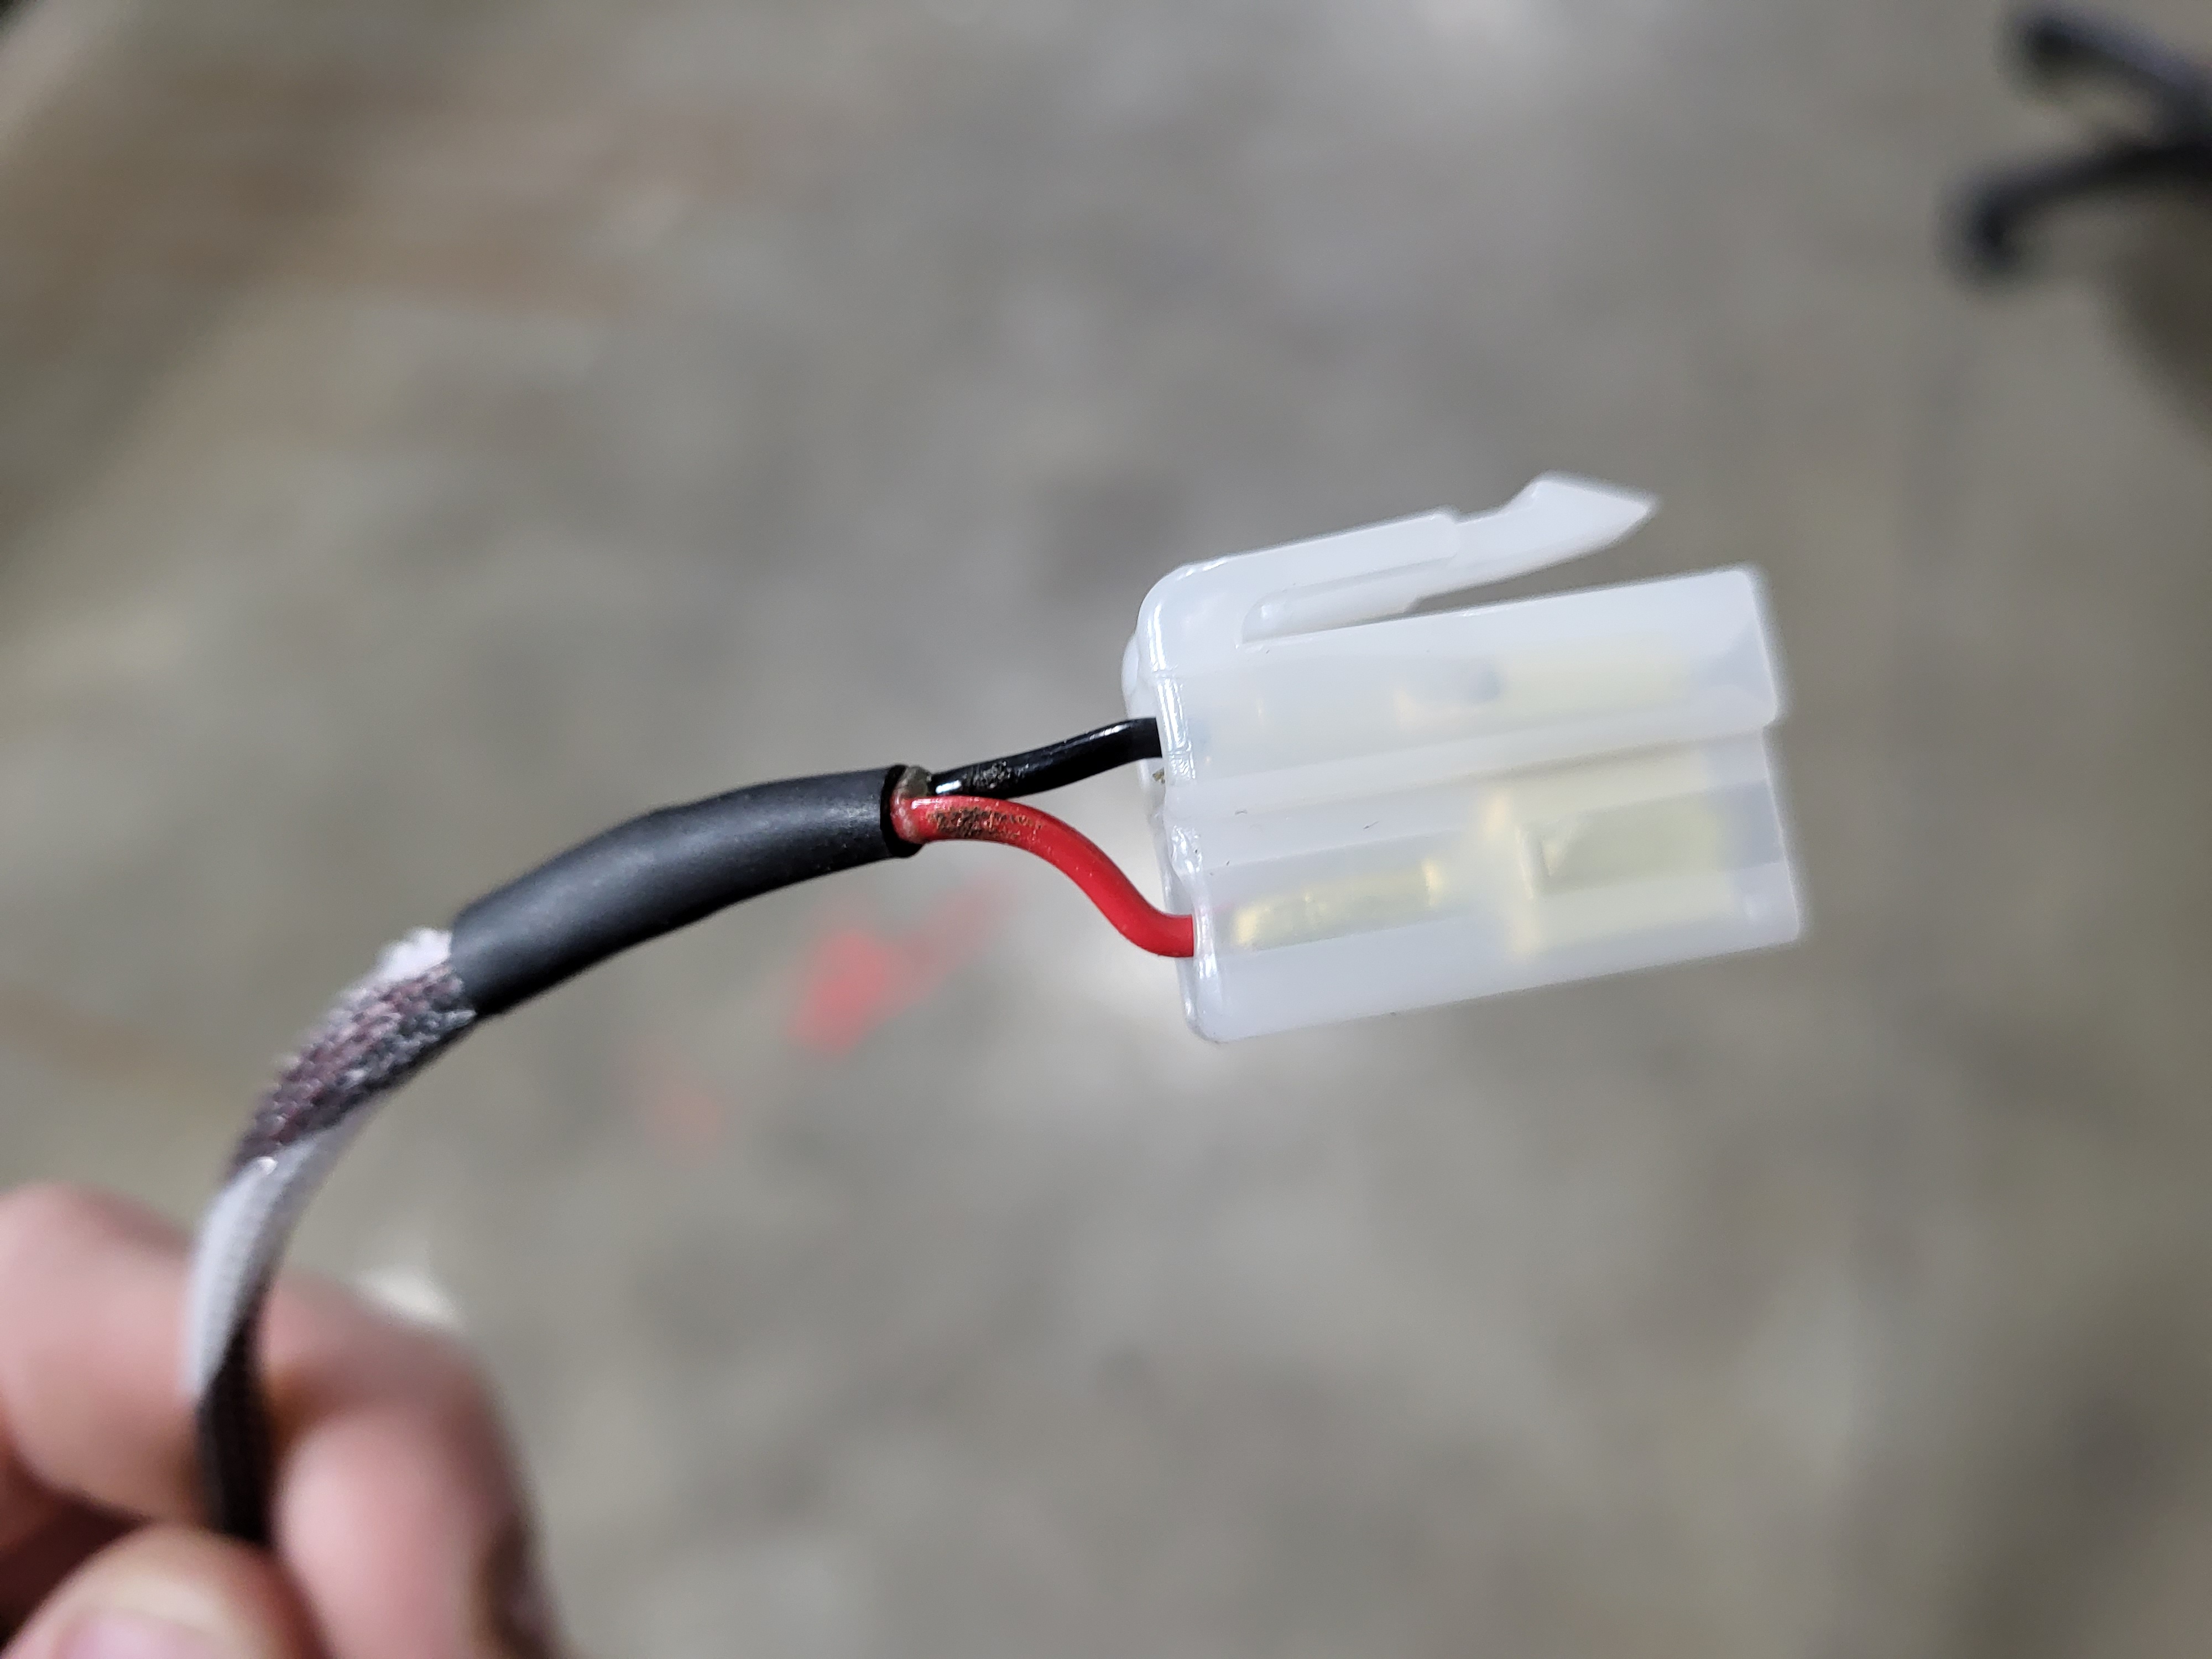
Step 3: You will now need to take the bare connector and assemble the terminals into it. The black wire will go to the top slot and the red wire to the lower slot (like pictured below). You can now reinstall your trim piece to the dashboard.
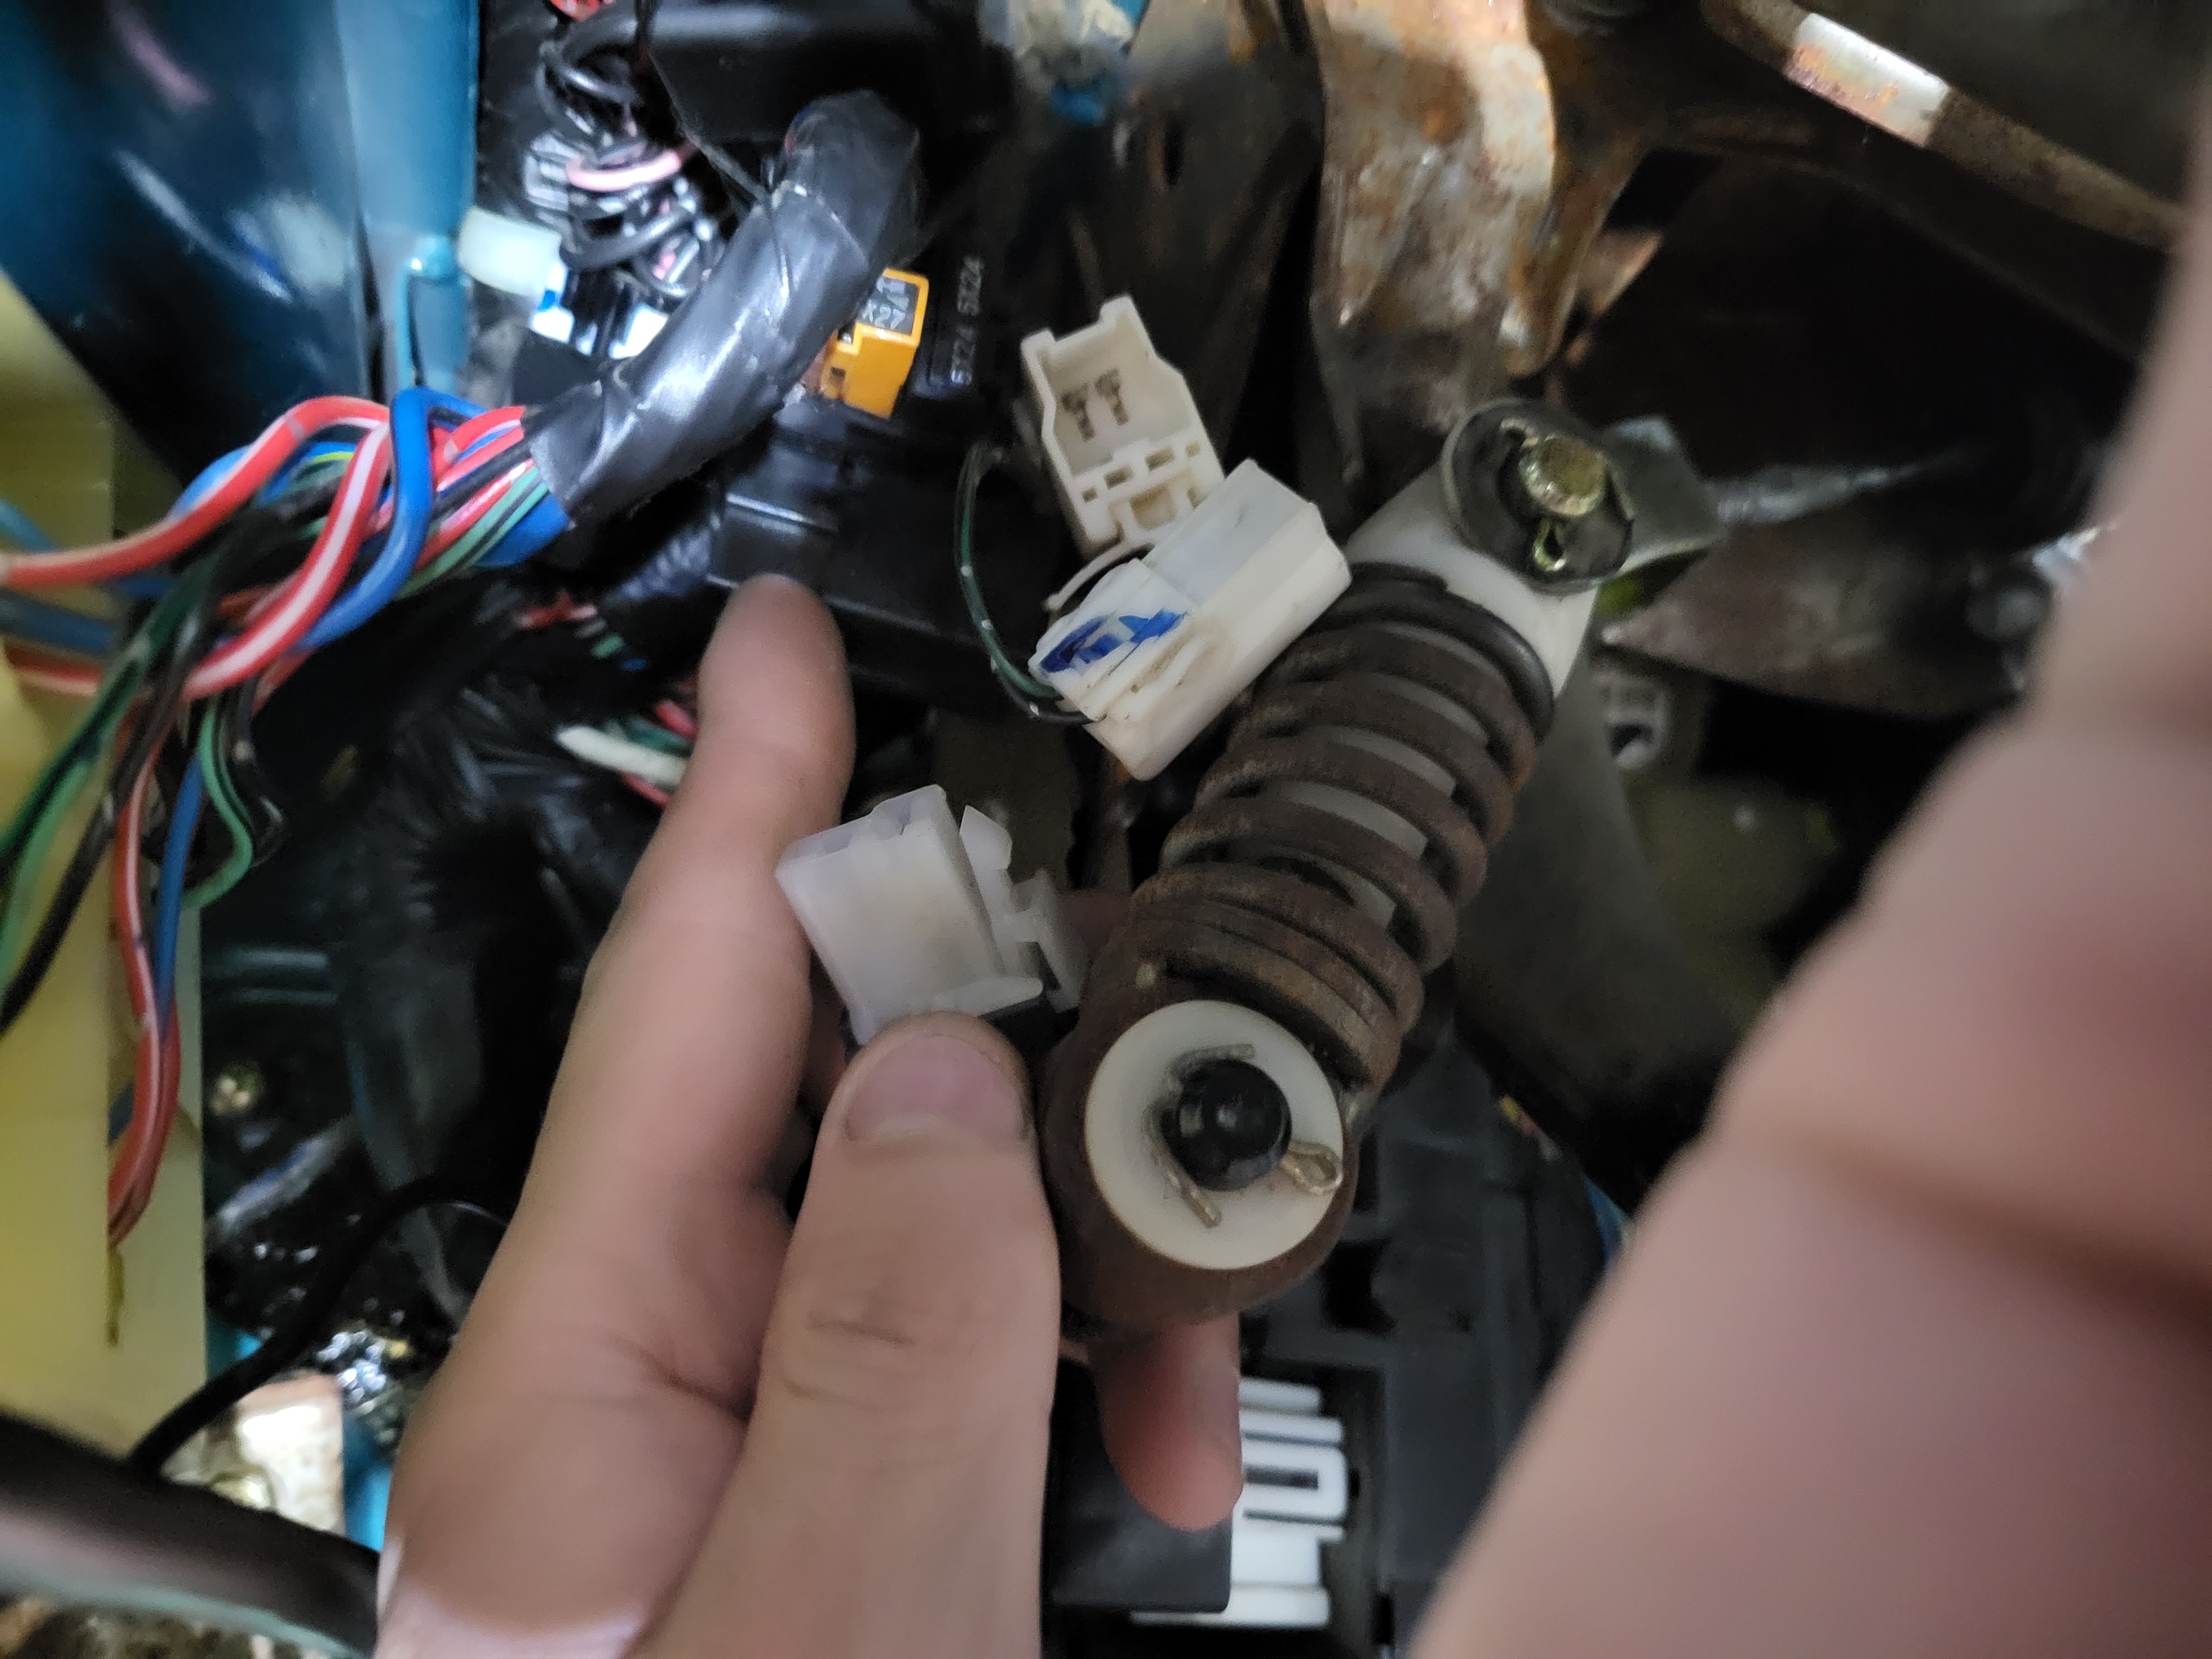
Step 4: Locate the cruise control switch at your clutch pedal and remove the connector from it. (Index is on switch, thumb is at the connector already removed).
Step 5: Plug in the connectors closest to each other on the PnP harness to the cruise control switch and to the body harness like below.
Step 6: Plug the remaining connector of the PnP main harness to the button harness under the dash.
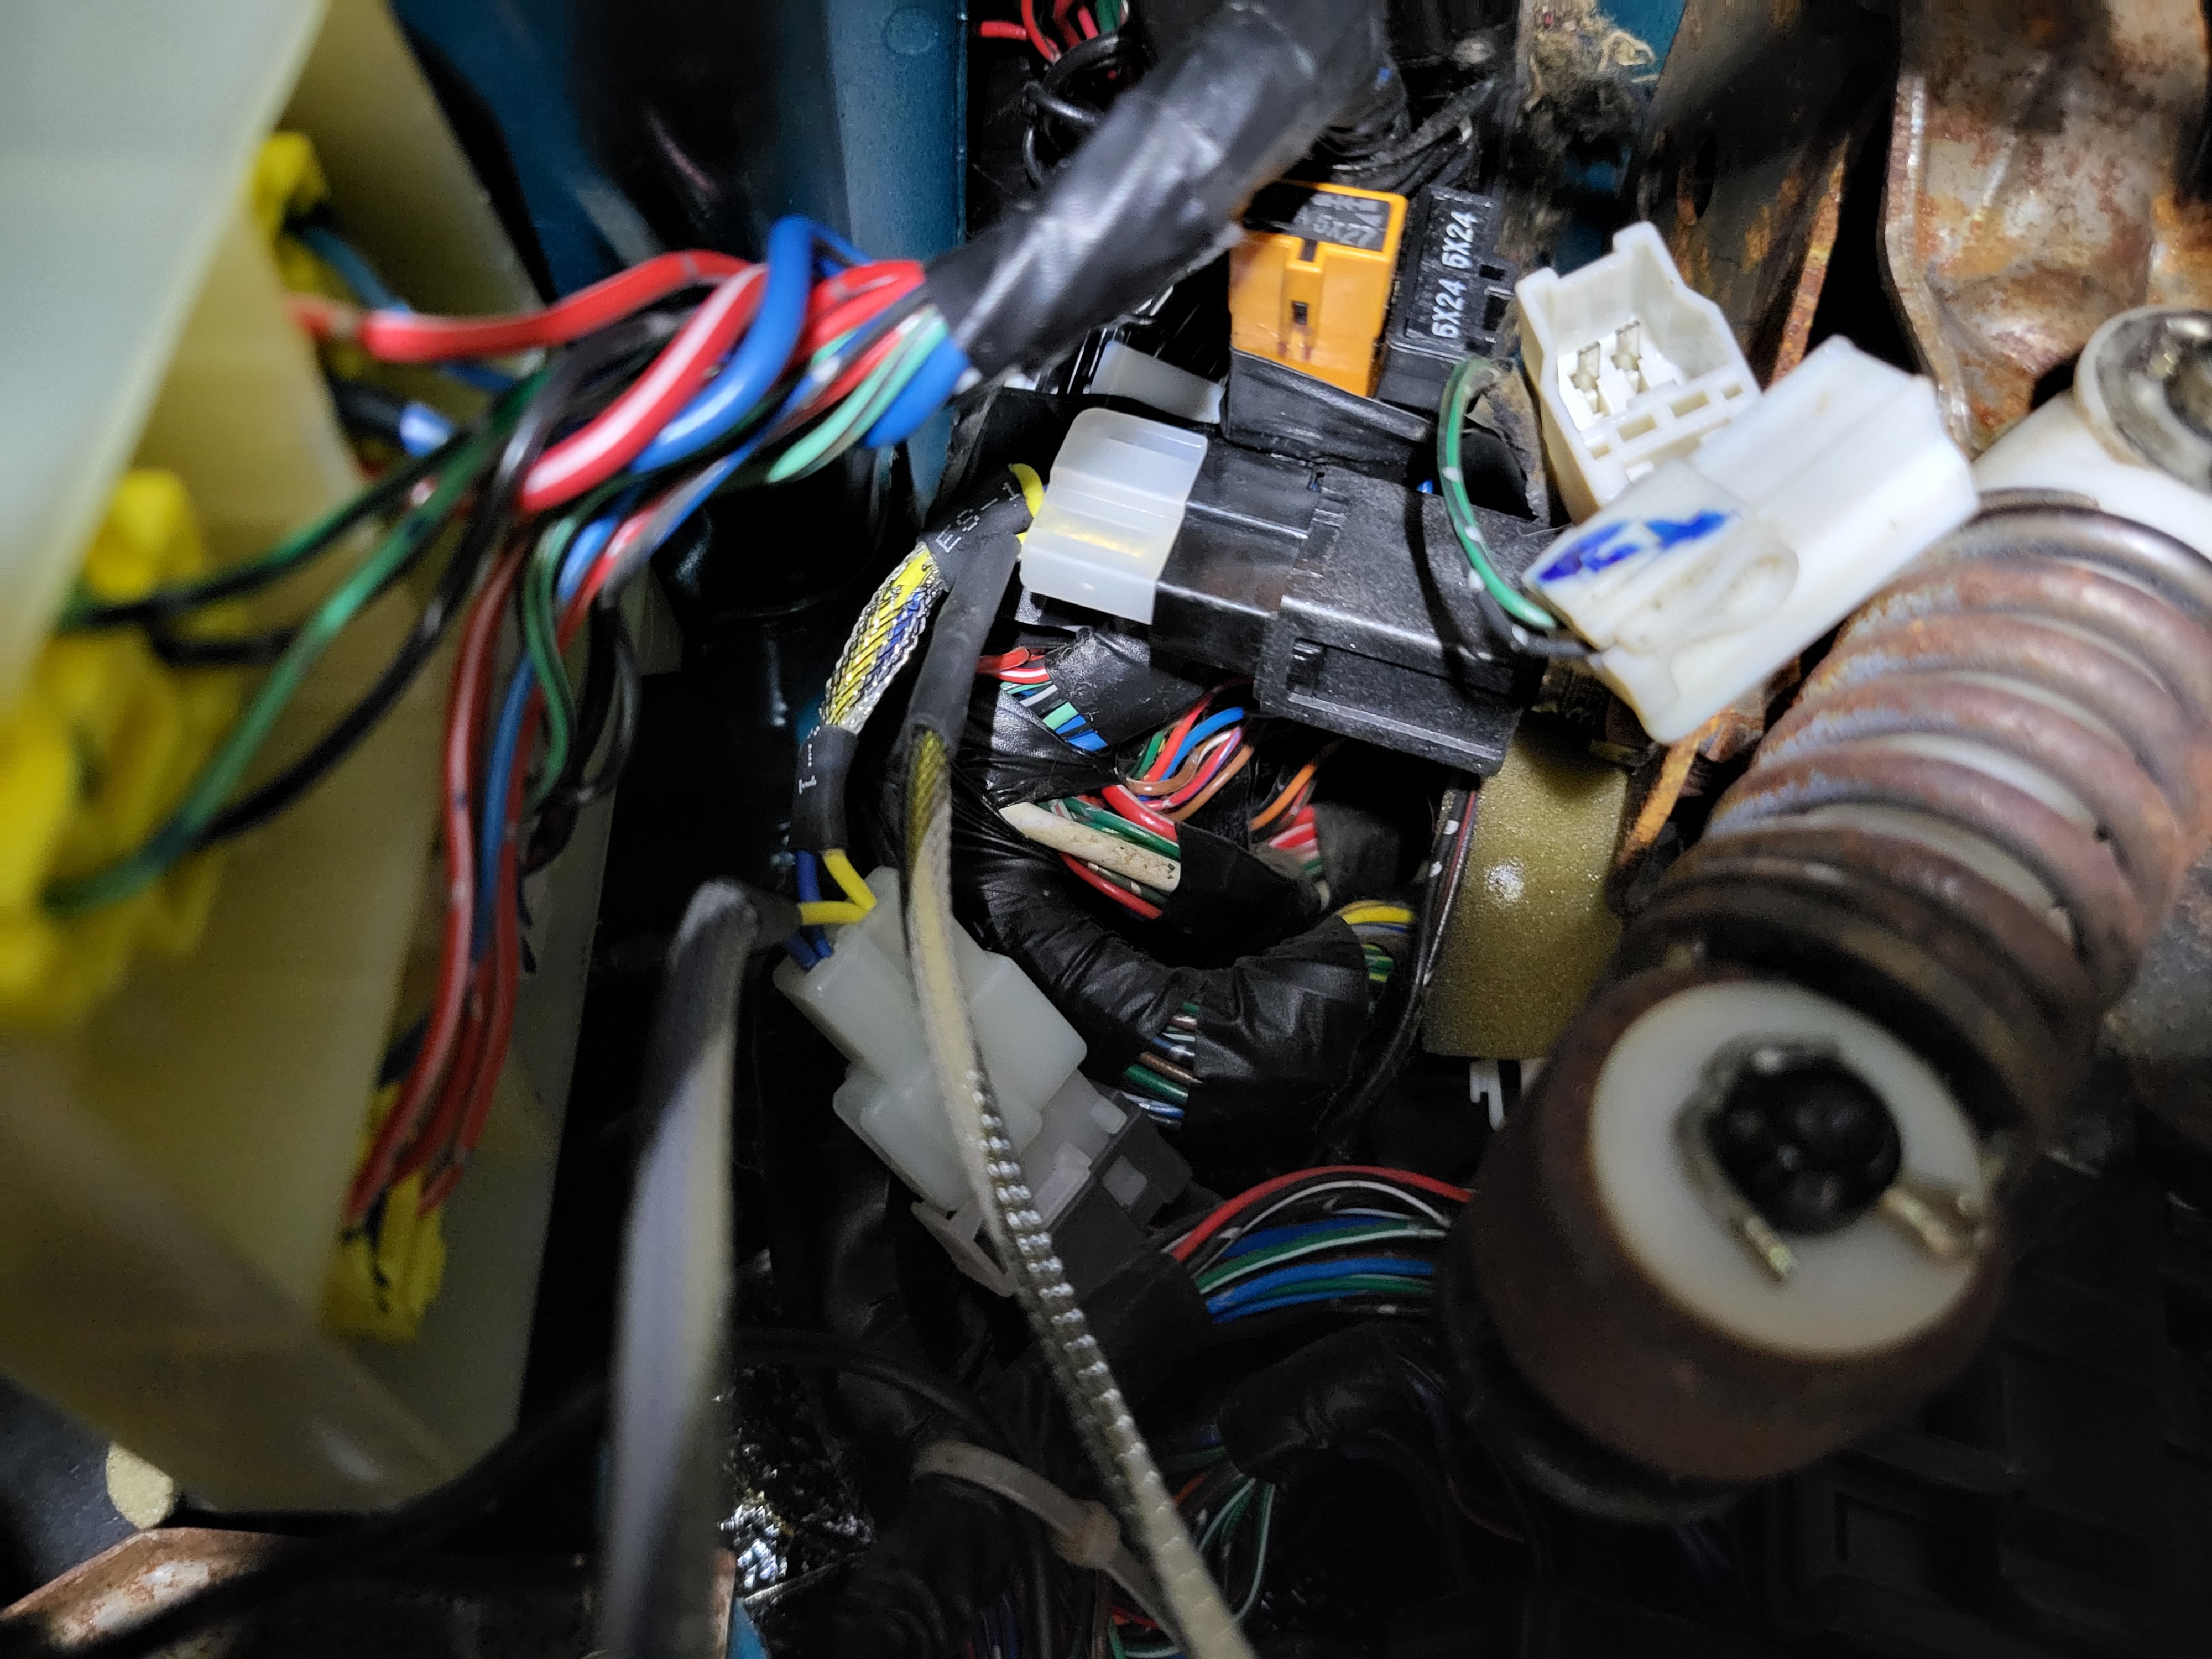
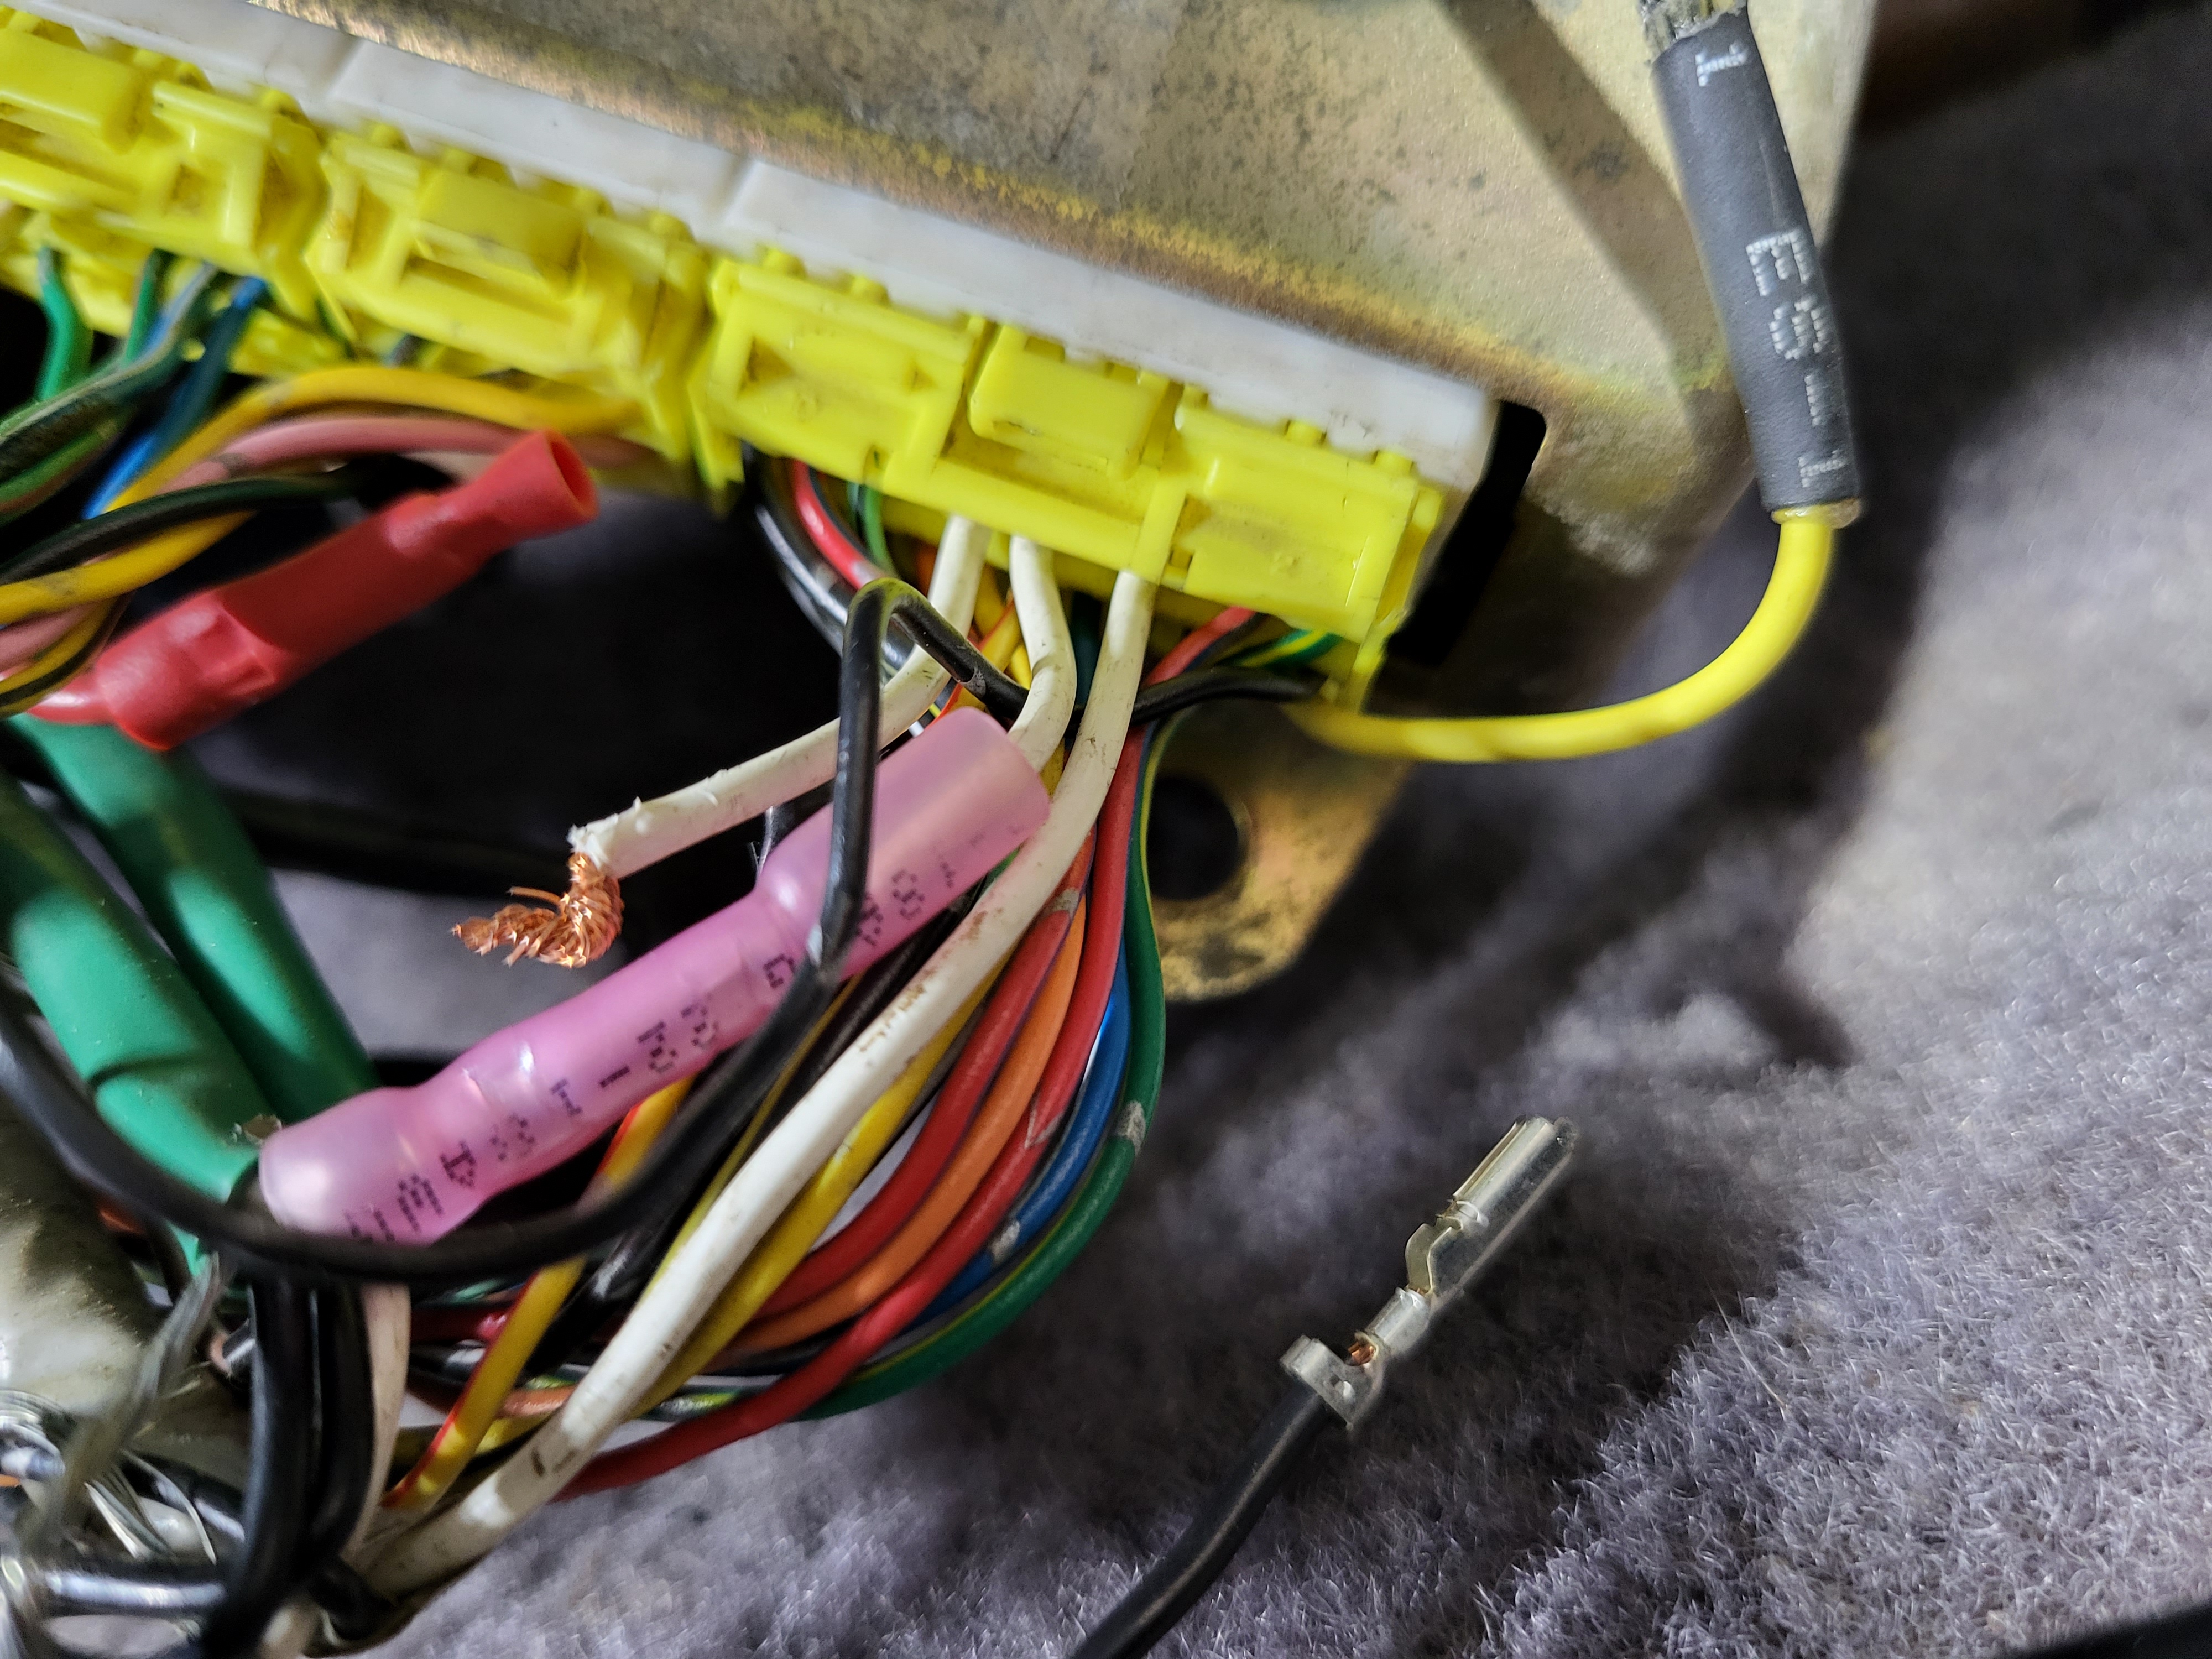
Step 7: Remove drivers side kick panel to expose and access the ECU. Remove the 22 pin connector and locate pin#91. ECU pinout guide here courtesy of DSMlink. It is the second to last Black wire on the bottom row. *Pin already removed in our reference picture*
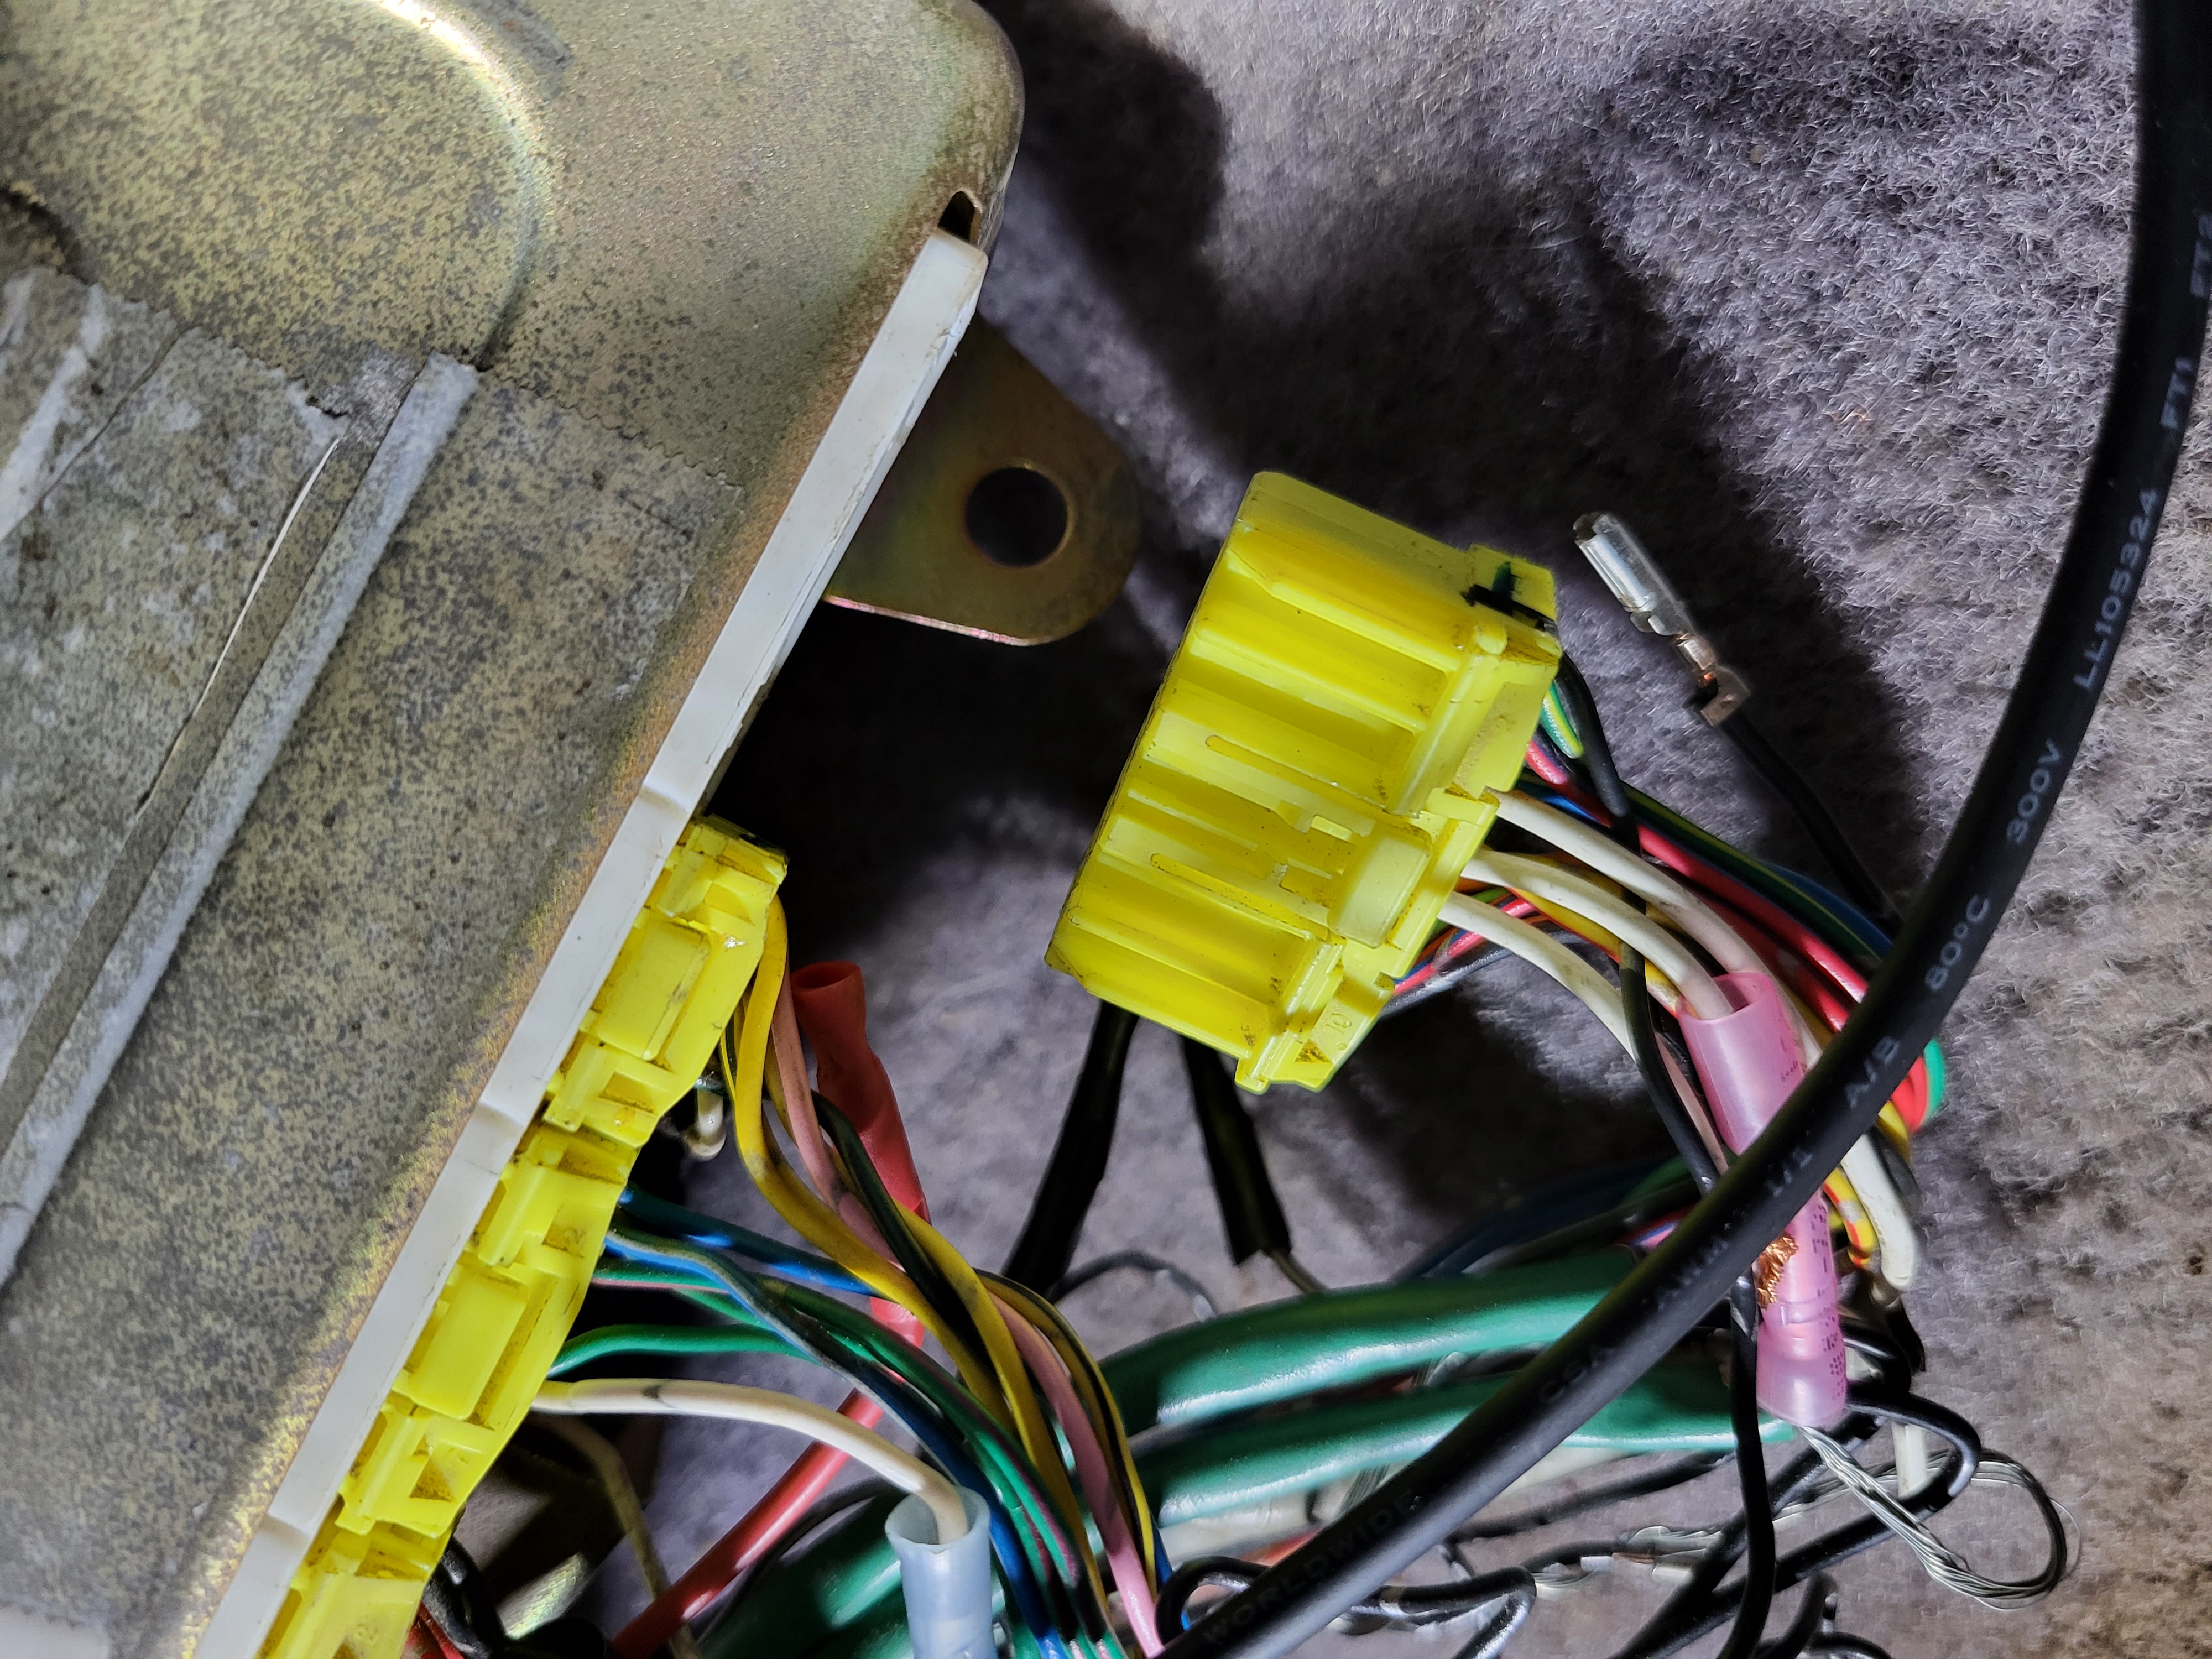
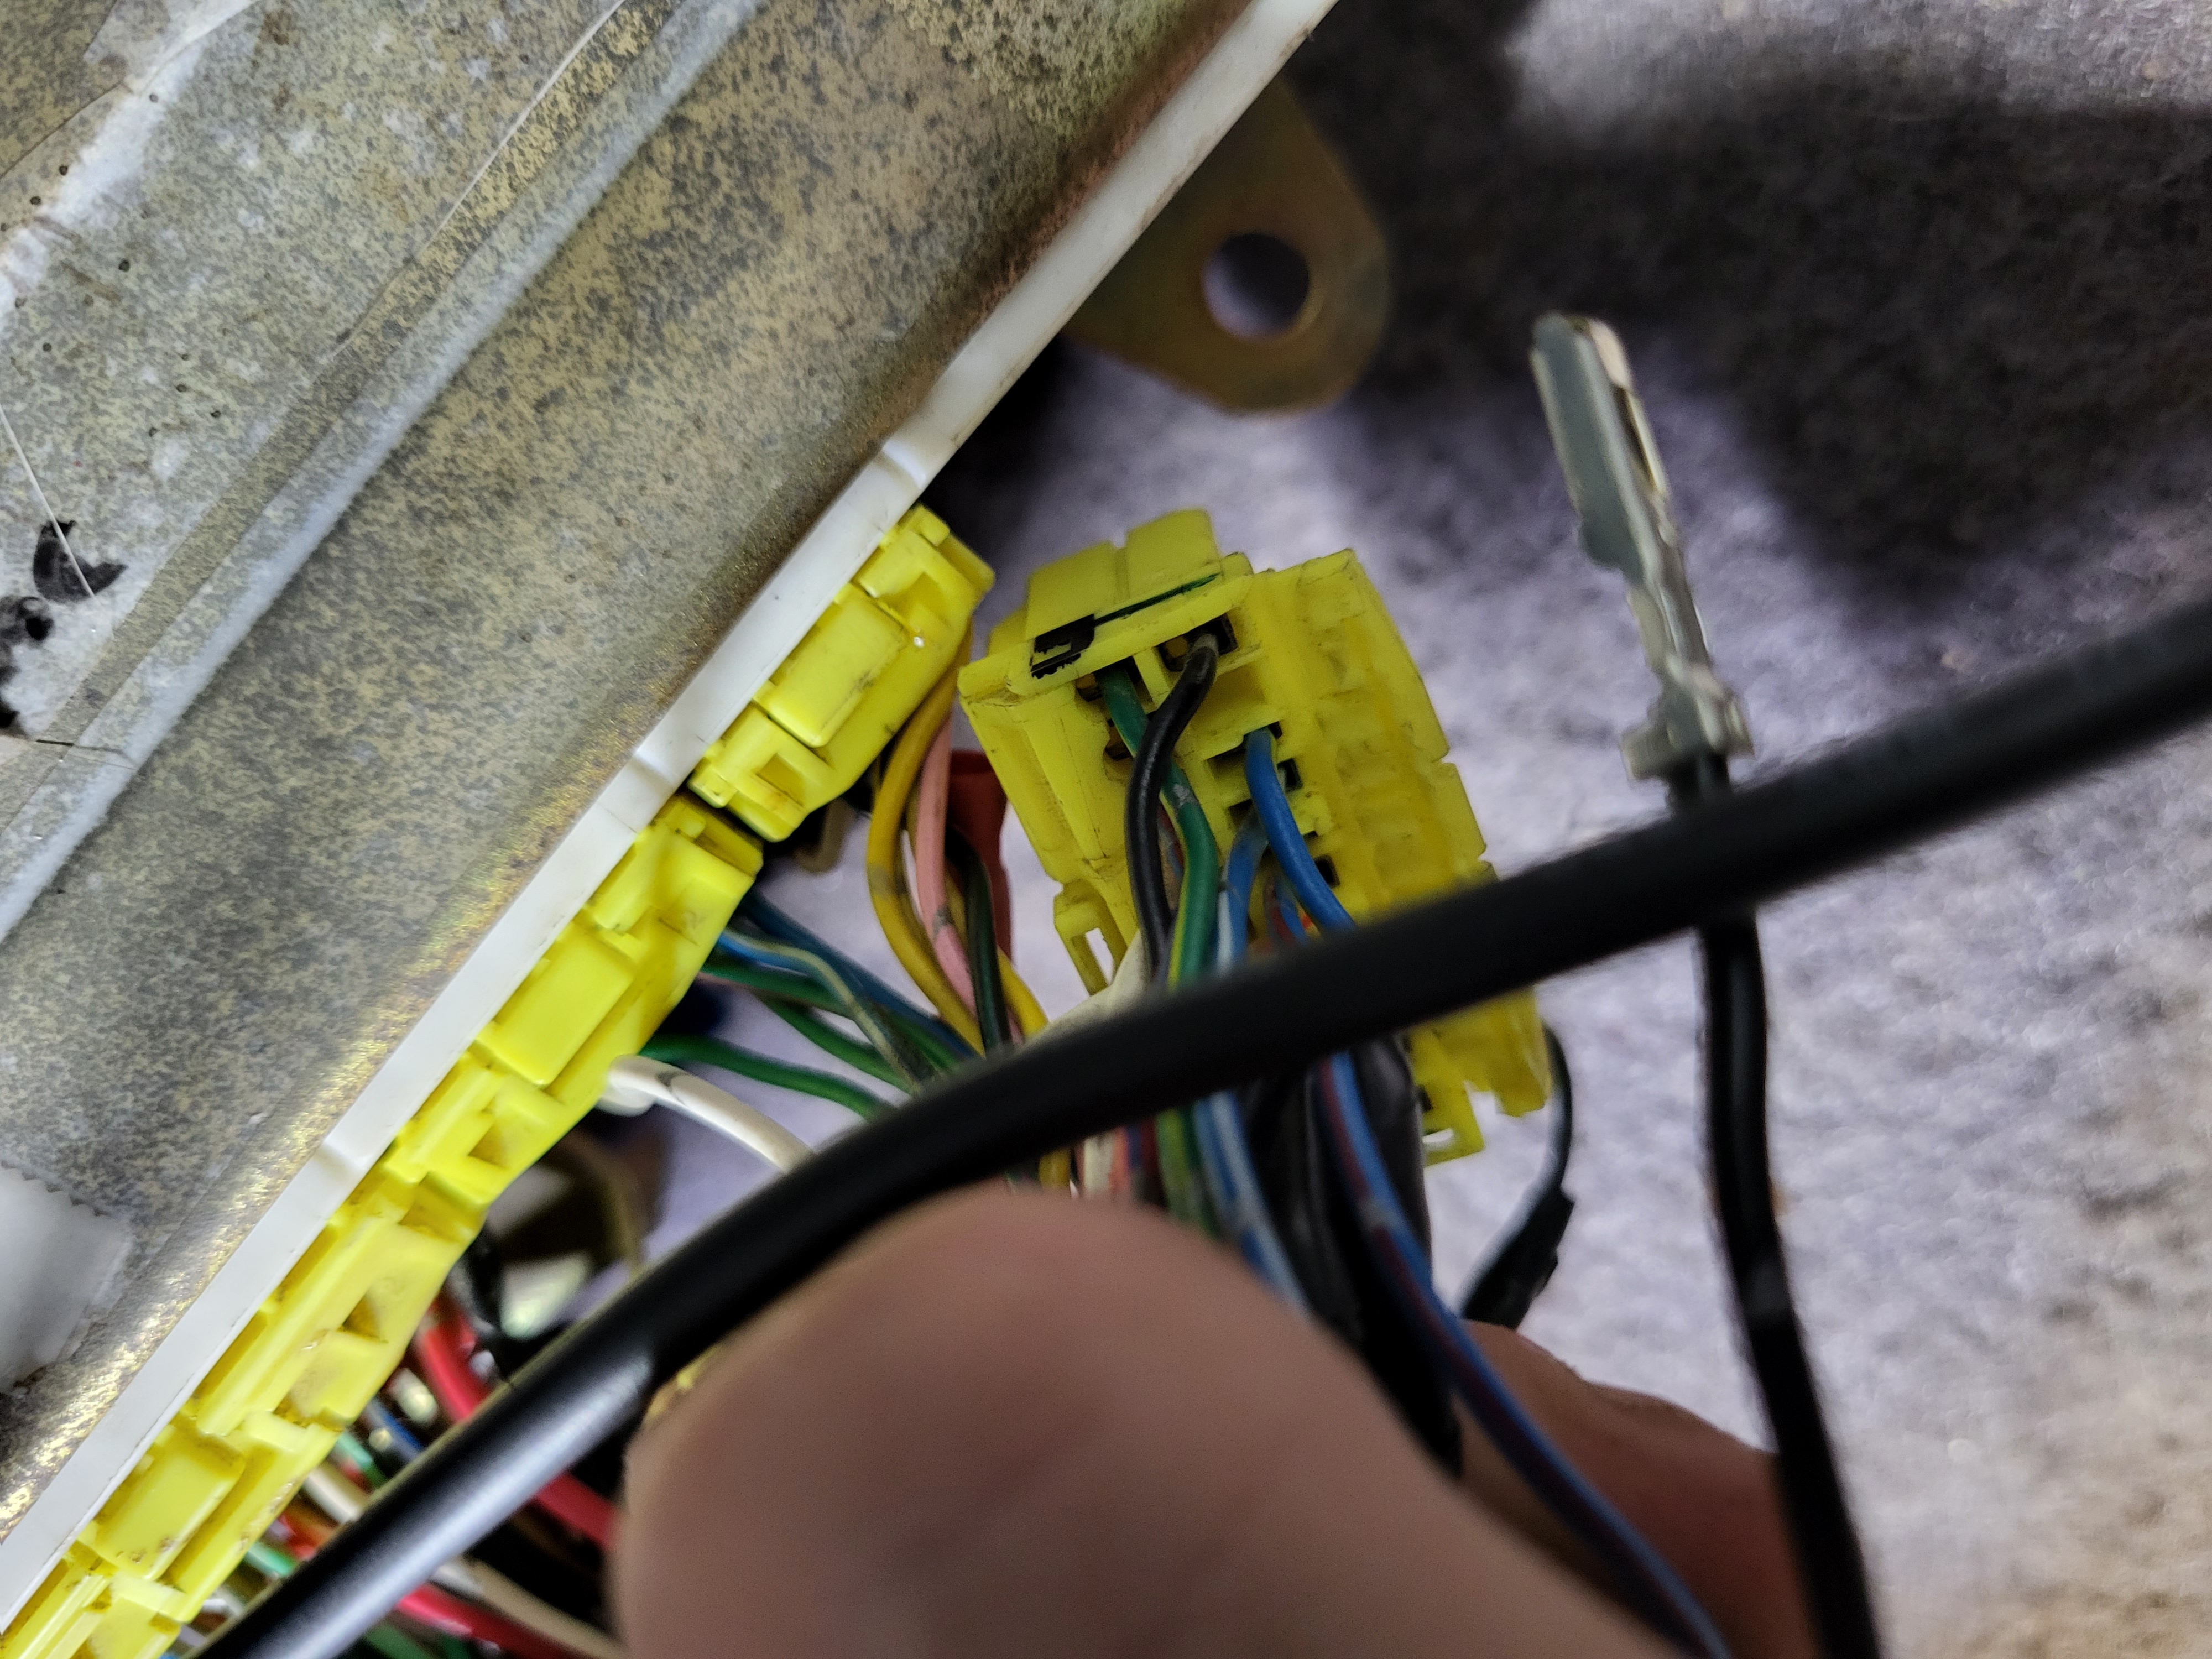
Step 8: Use your very small flathead screwdriver, pick or terminal removal tool (if you have one) to release the lock and slide the wire out of location #91.
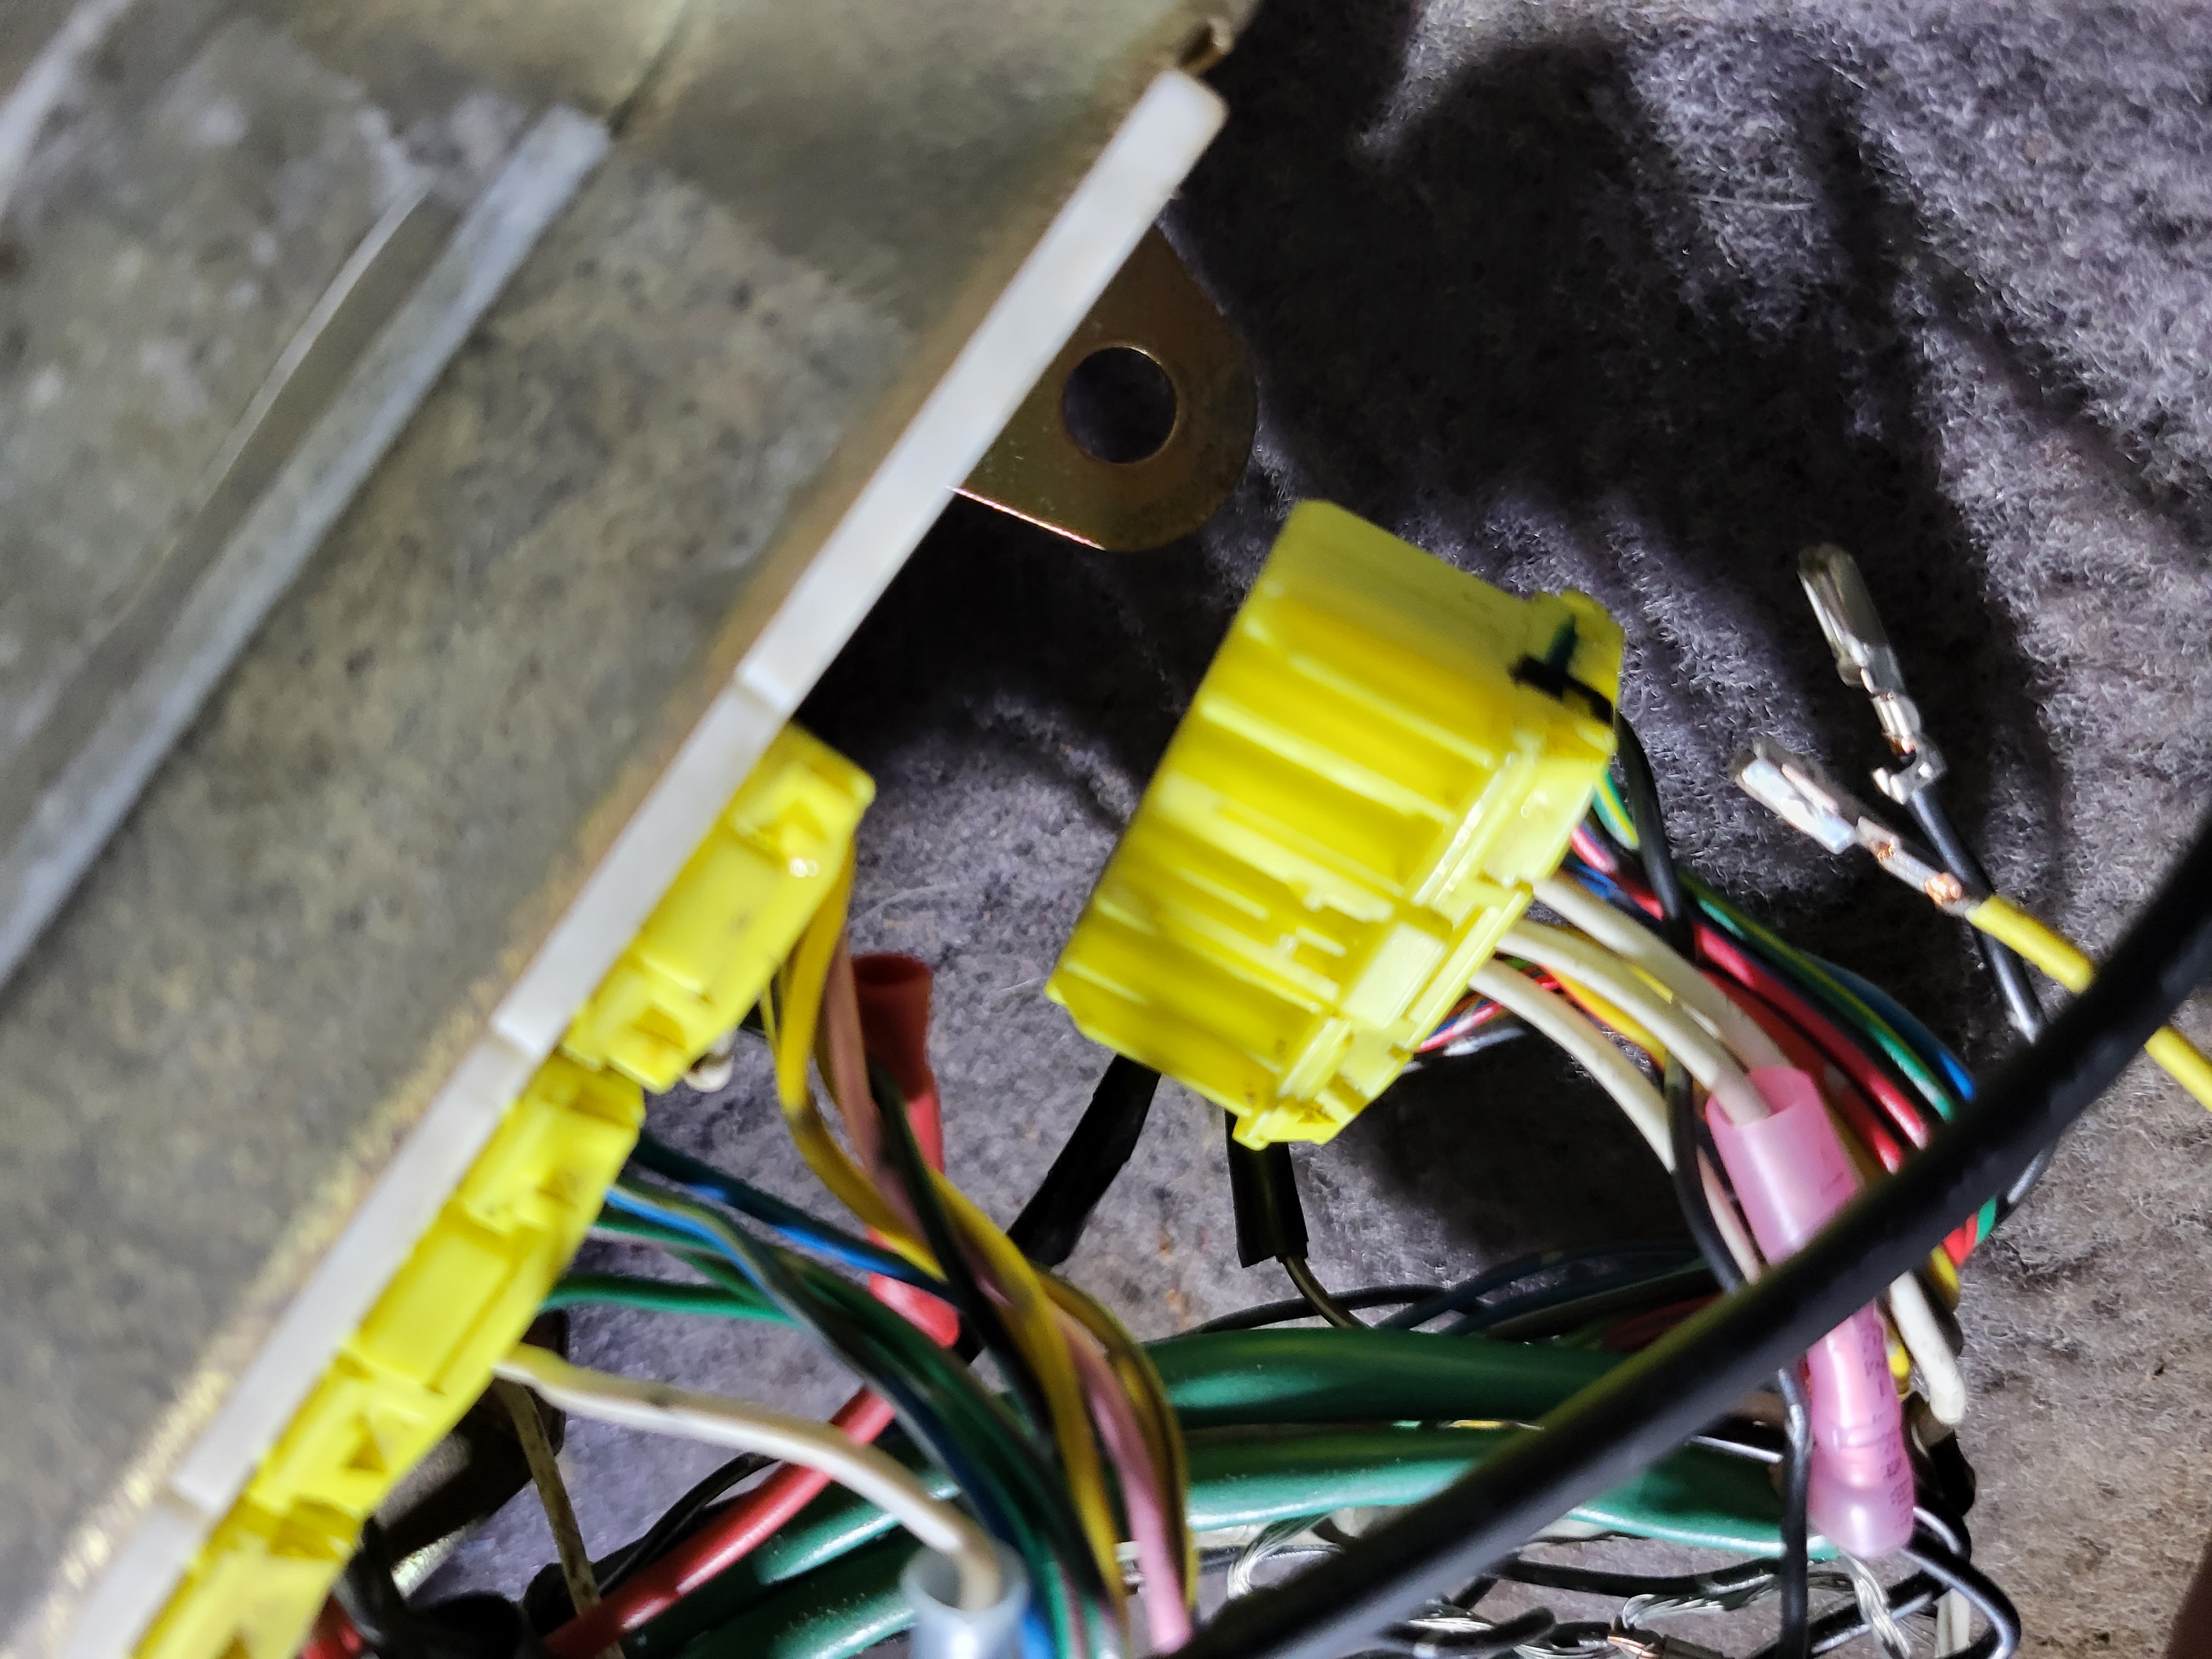
Step 9: Insert new pinned wire from PnP harness into Pin#91. Reinstall connector and cover up ECU.
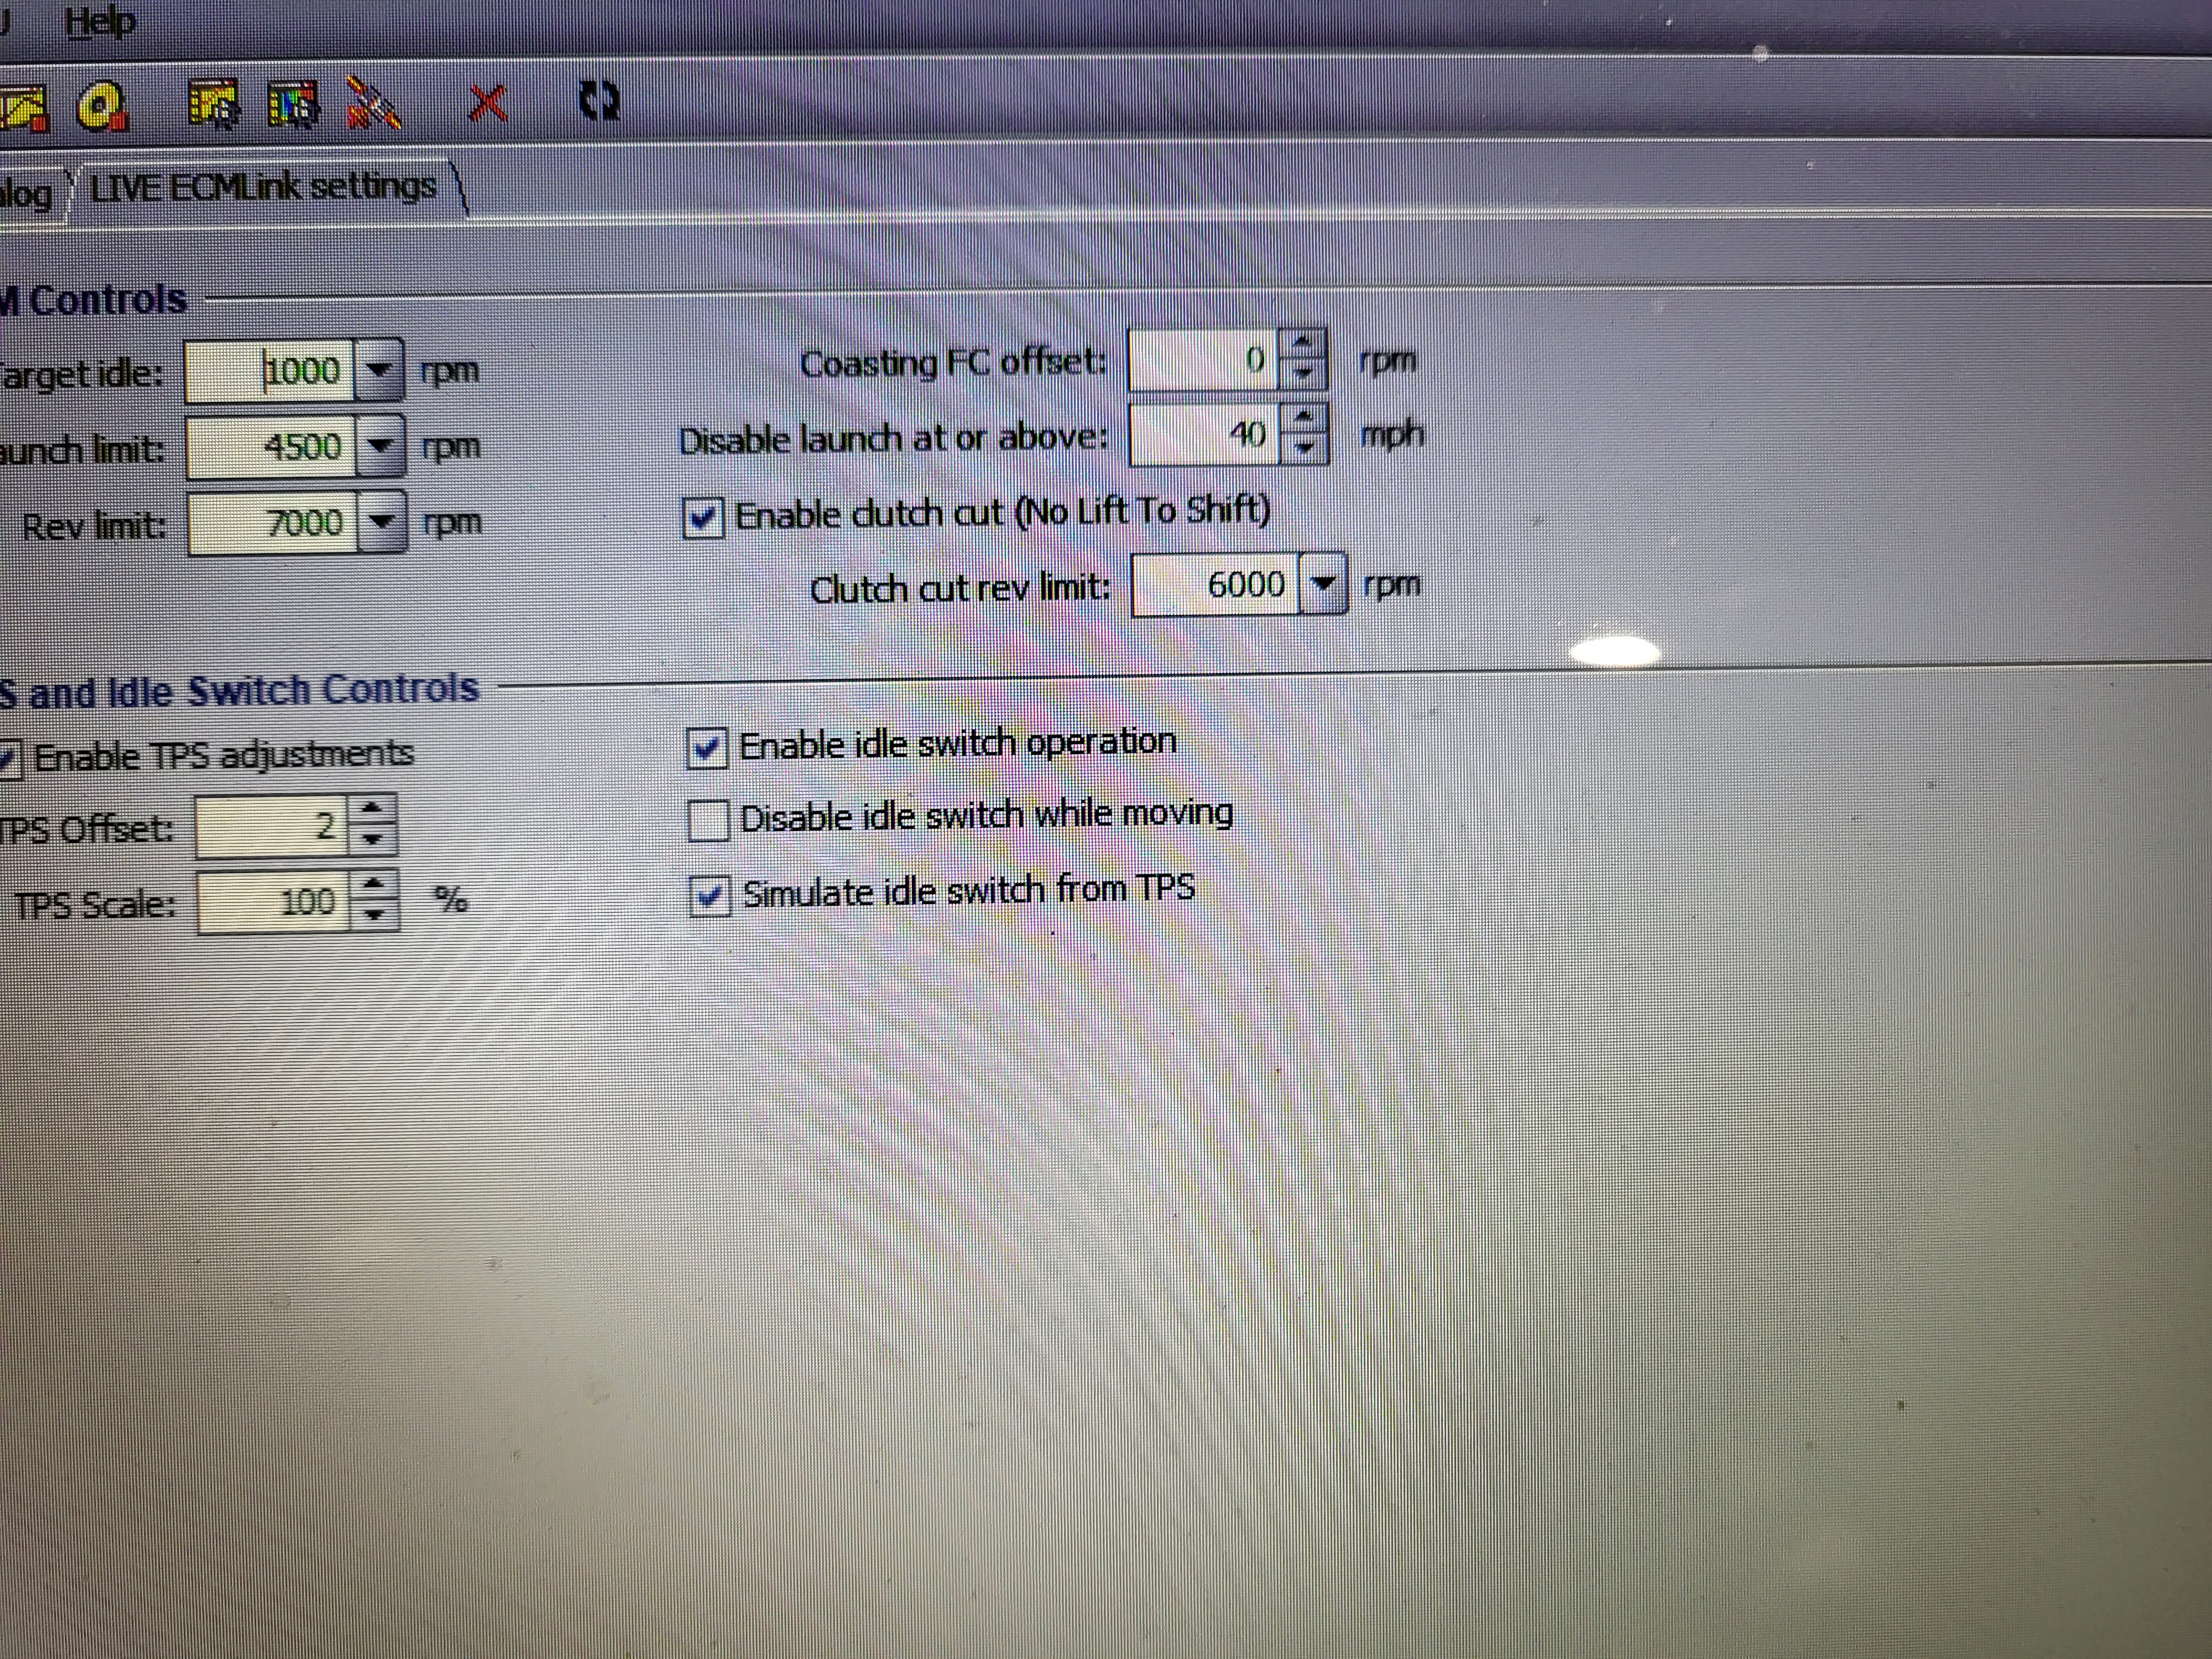
Step 10: Fire up your computer, open up ECMlink and connect to the vehicle. Under the RPM/TPS tab you will want to check off the "Enable Clutch Cut" box.
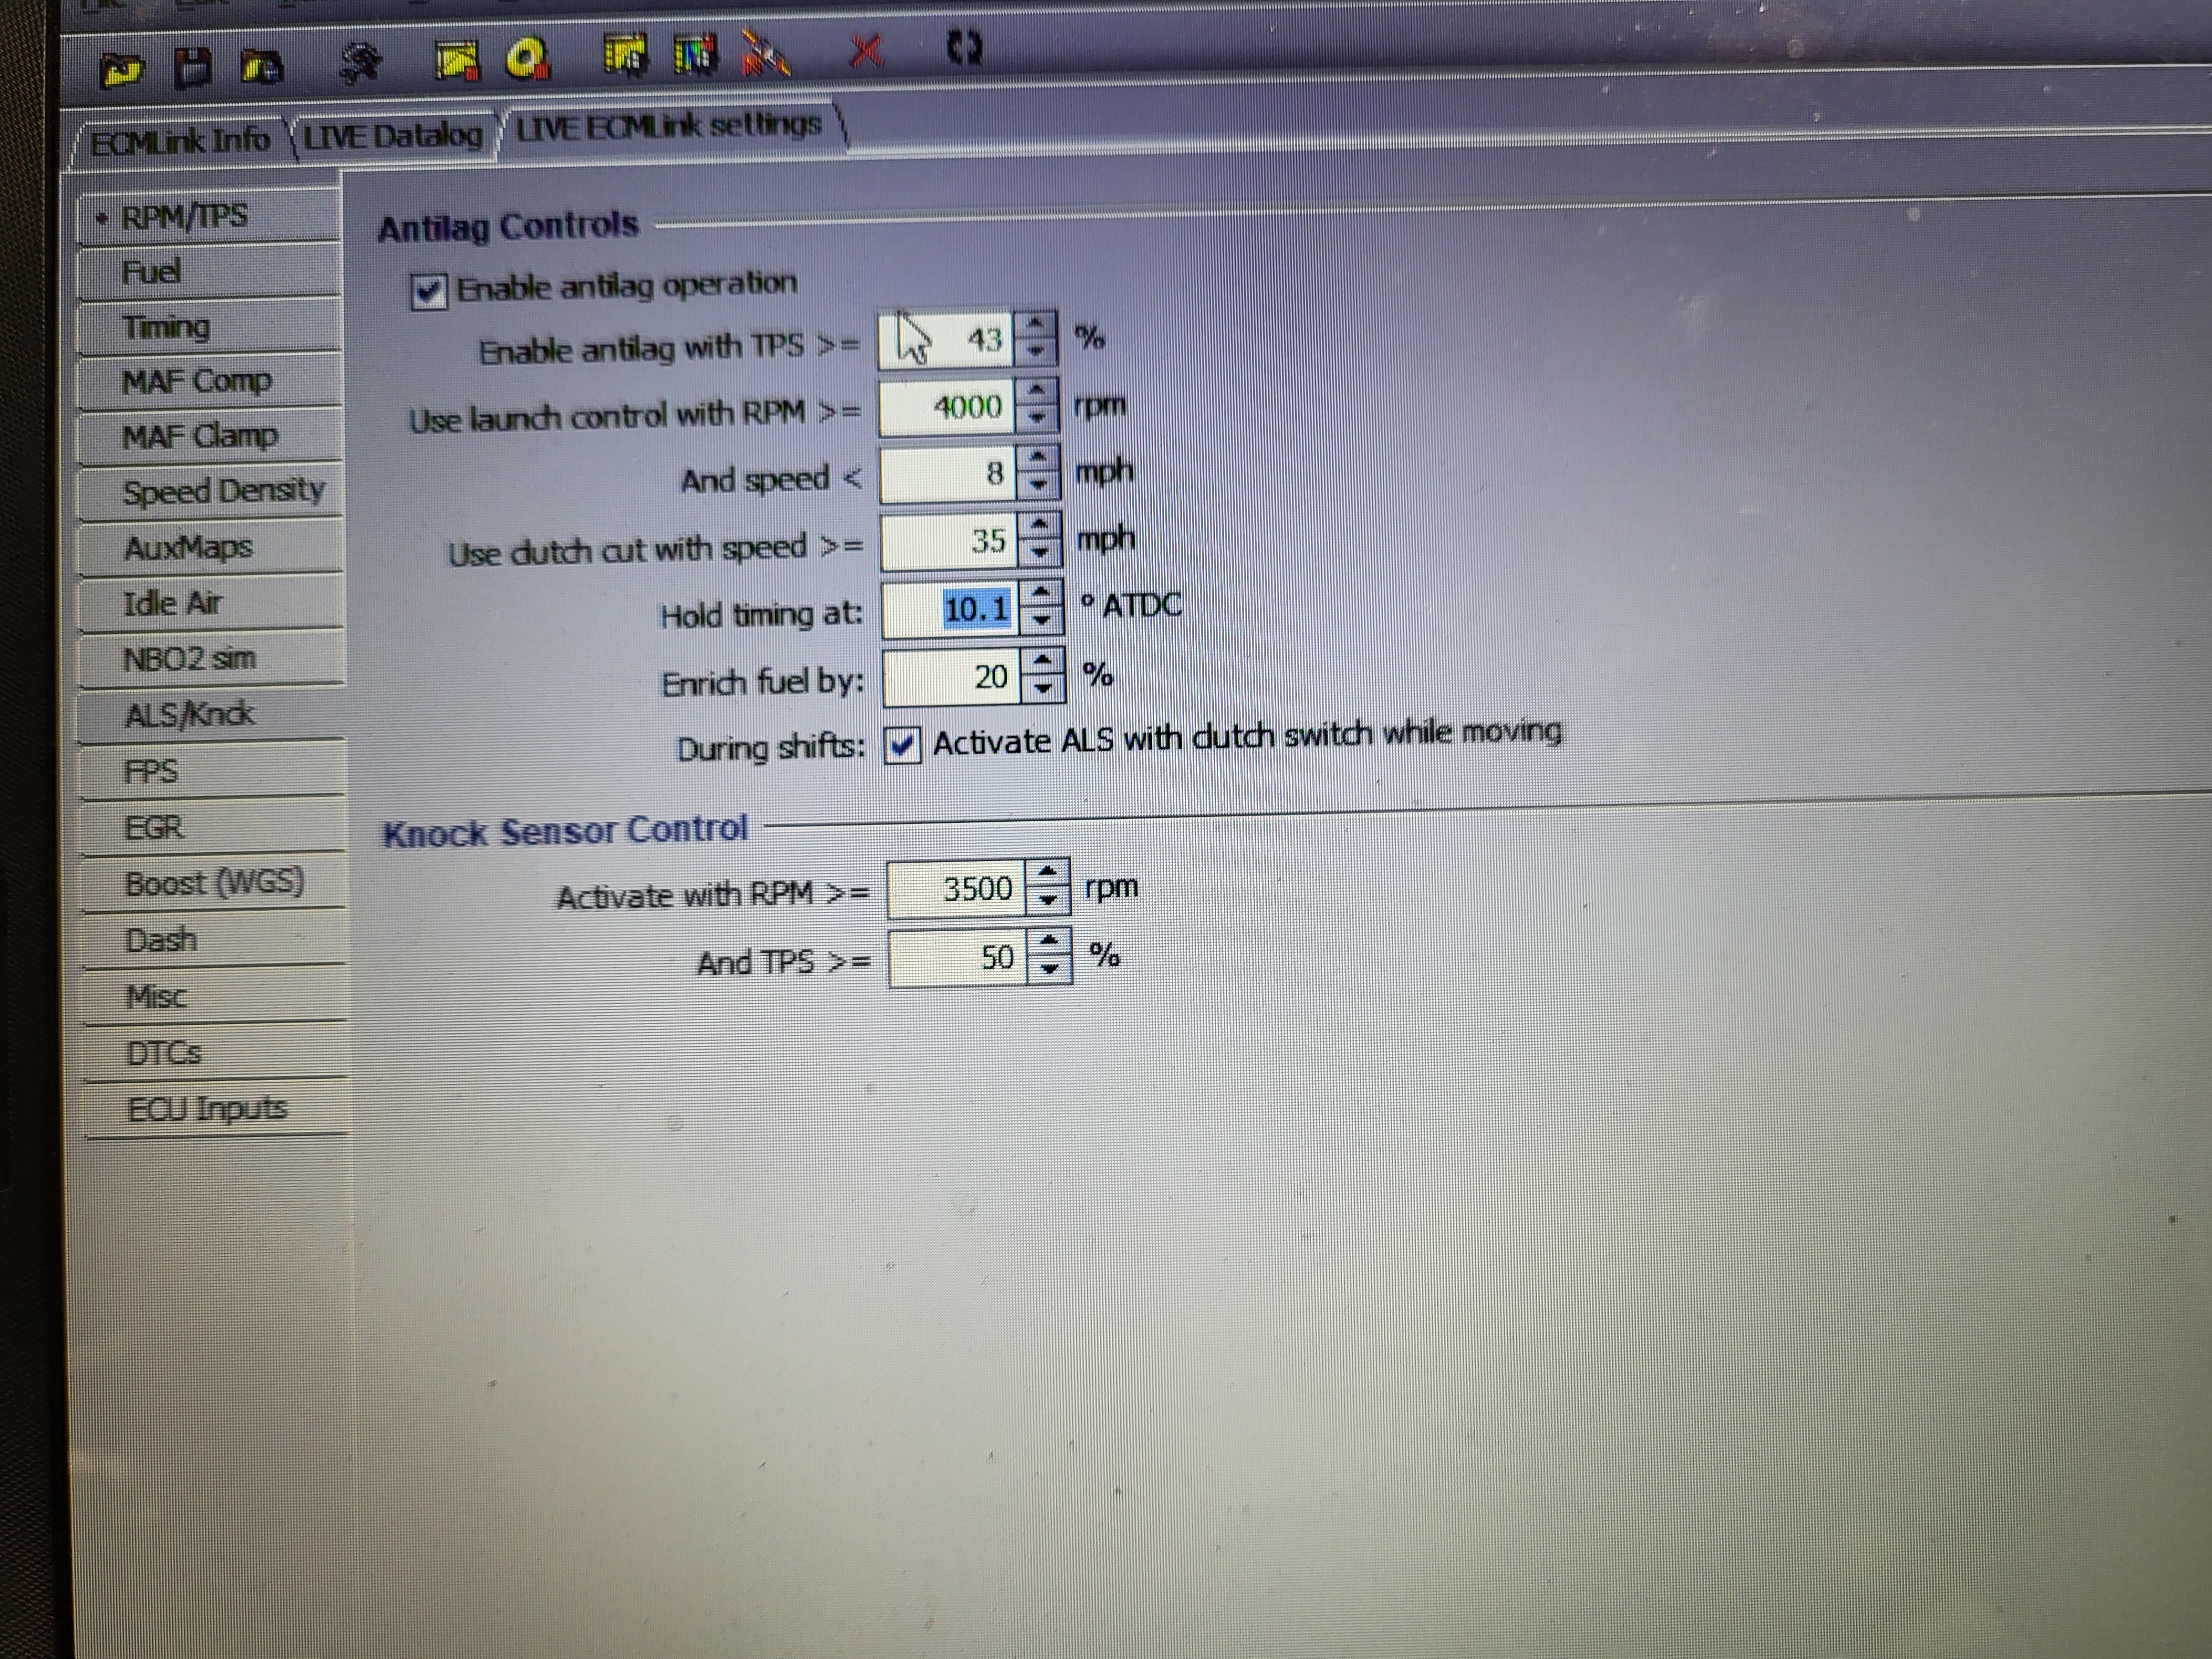
Step 11: We had used these settings as a test for a "40 Roll" with good results! Adjust yours as needed and enjoy!
------------------------------------------------------------------------------------------------------------------------------------------------------------
Cigarette Lighter Location
Tools Needed:
- Phillips #2 screwdriver
- Flathead or small pick/pin remover
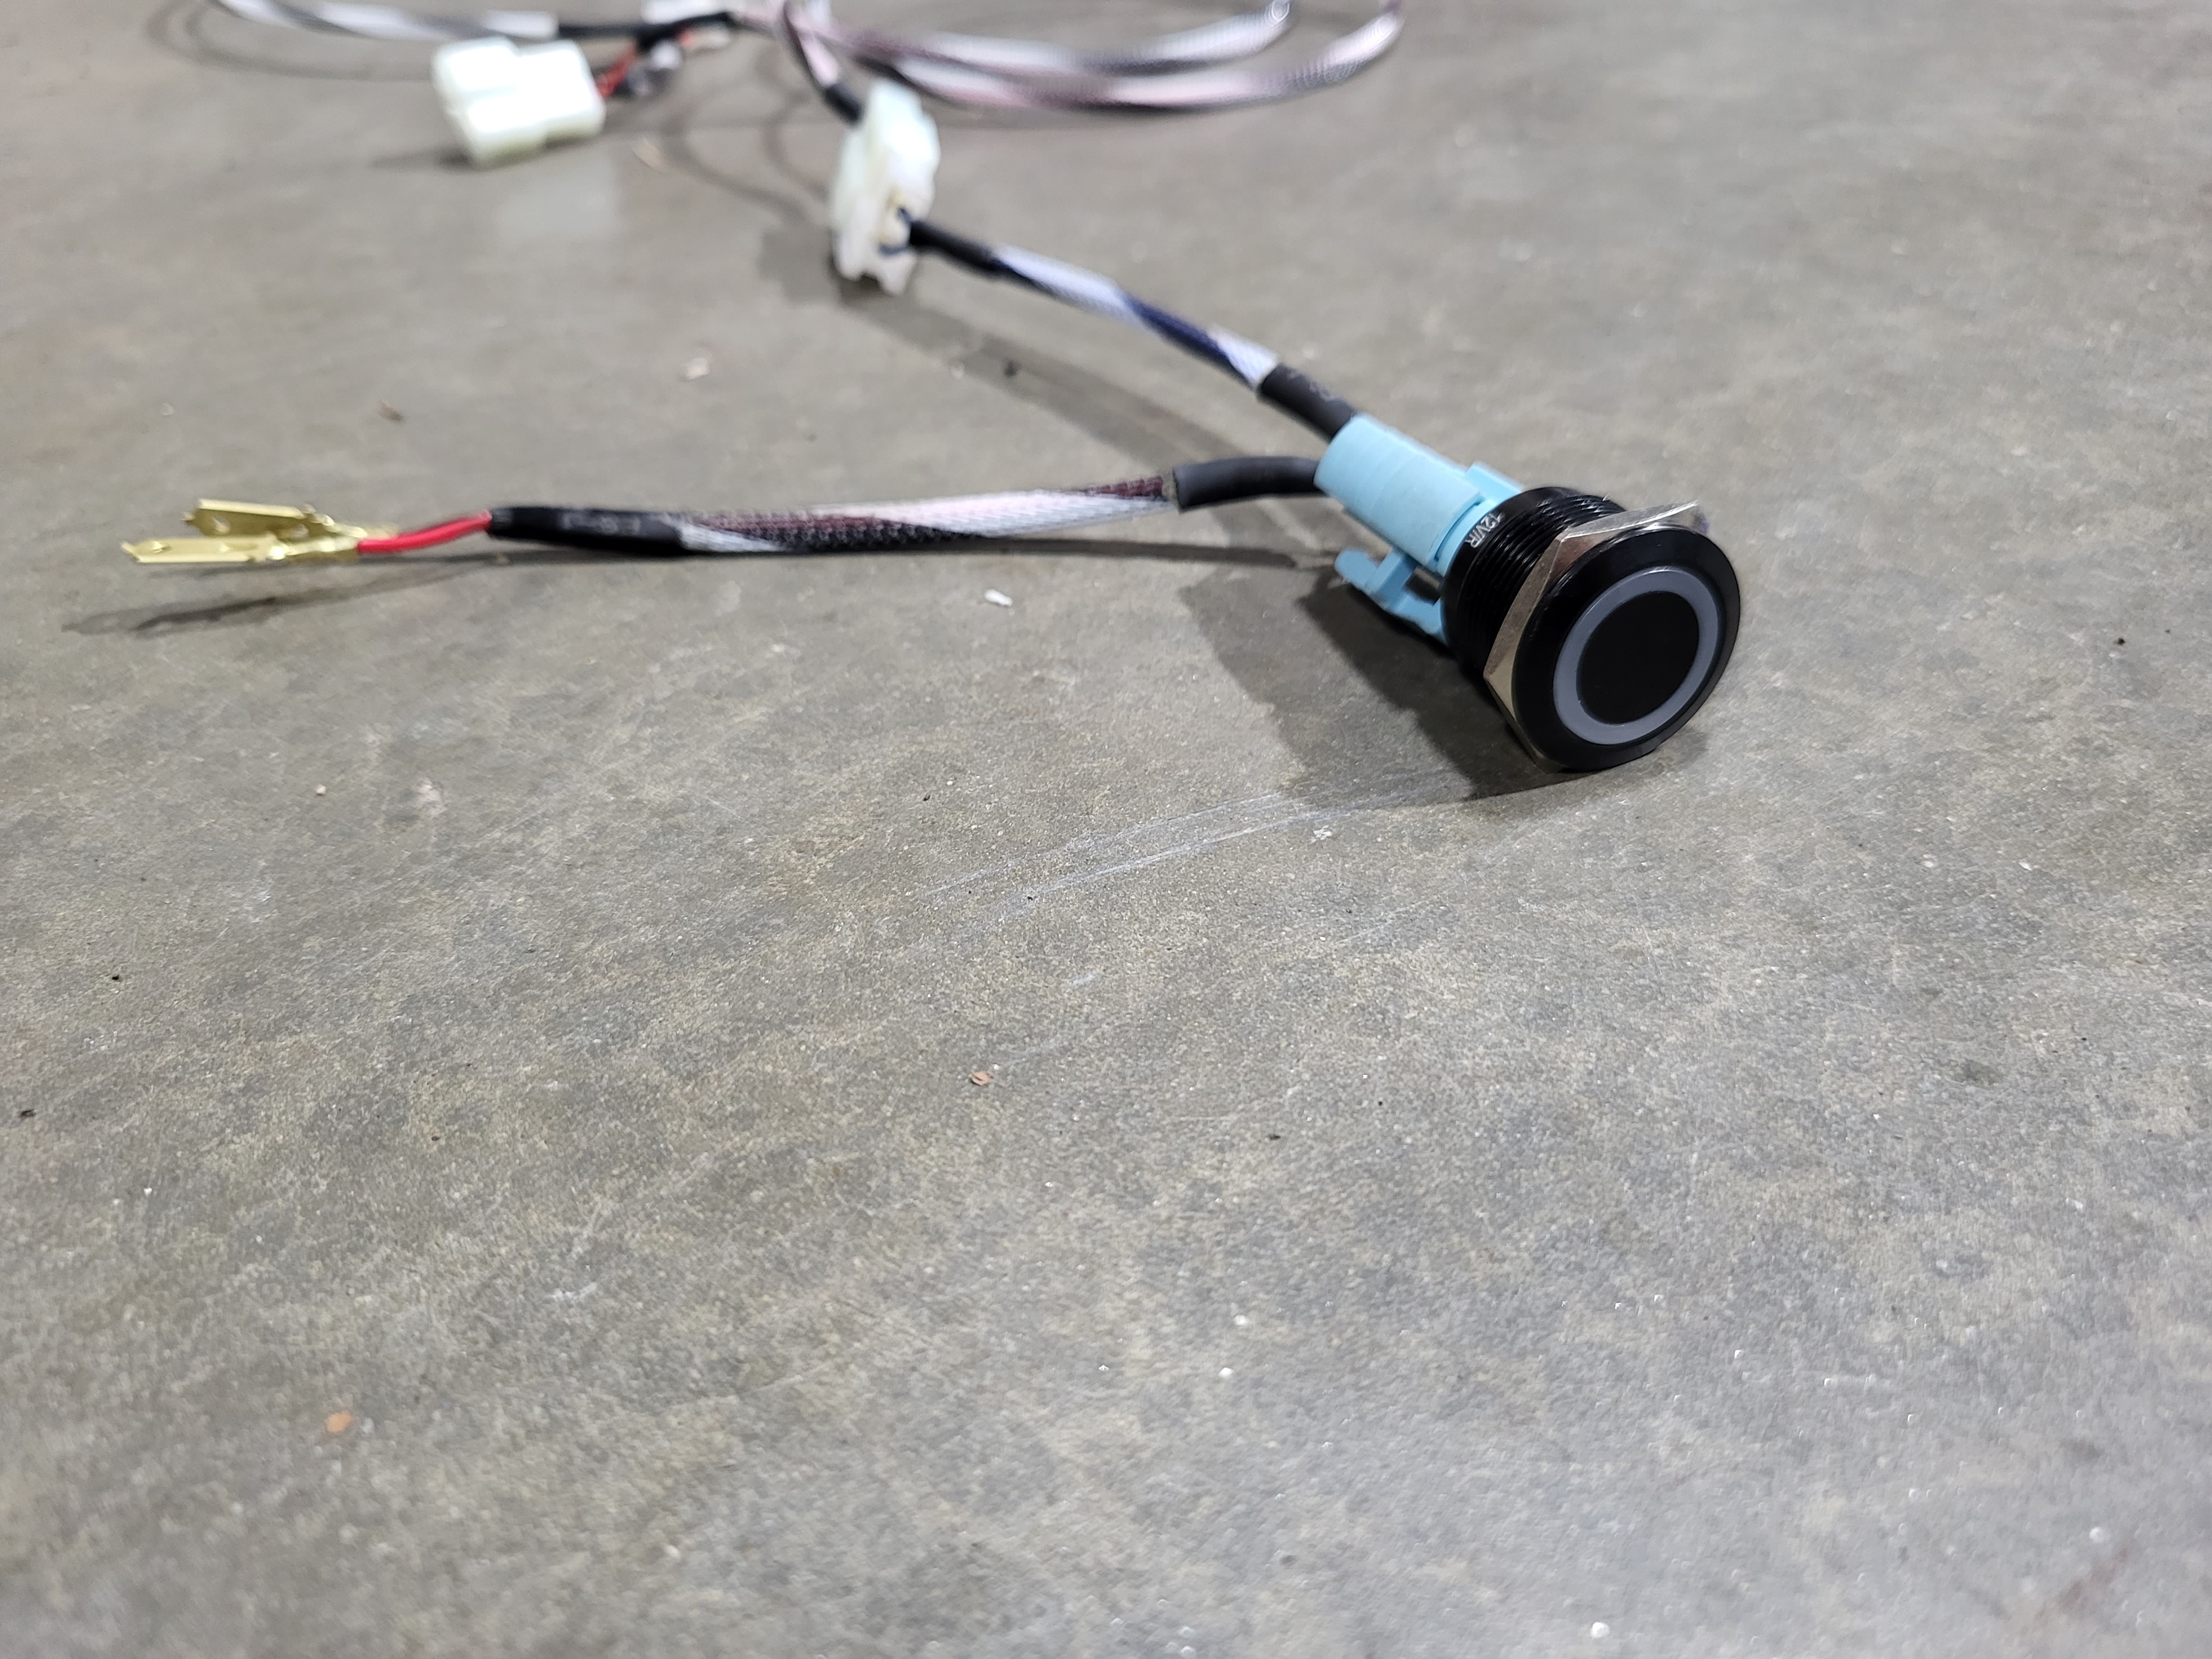
Step 1: Lay out your harness, you should have your main harness and the additional button harness. Similar yet different to the drivers side trim harness this button has an optional L.E.D light up ring.

Step 2: Remove shift knob, radio bezel trim and center console. Set the Black and the Blue wire aside from the cigarette lighter. You will then need to remove the cigarette lighter assembly from your center console. After removing the assembly, you will need to remove the plastic ring that is used to show the light when the port is powered. Be careful not to break it as it is needed to properly mount this button. Once removed your cigarette lighter assembly should look like this:
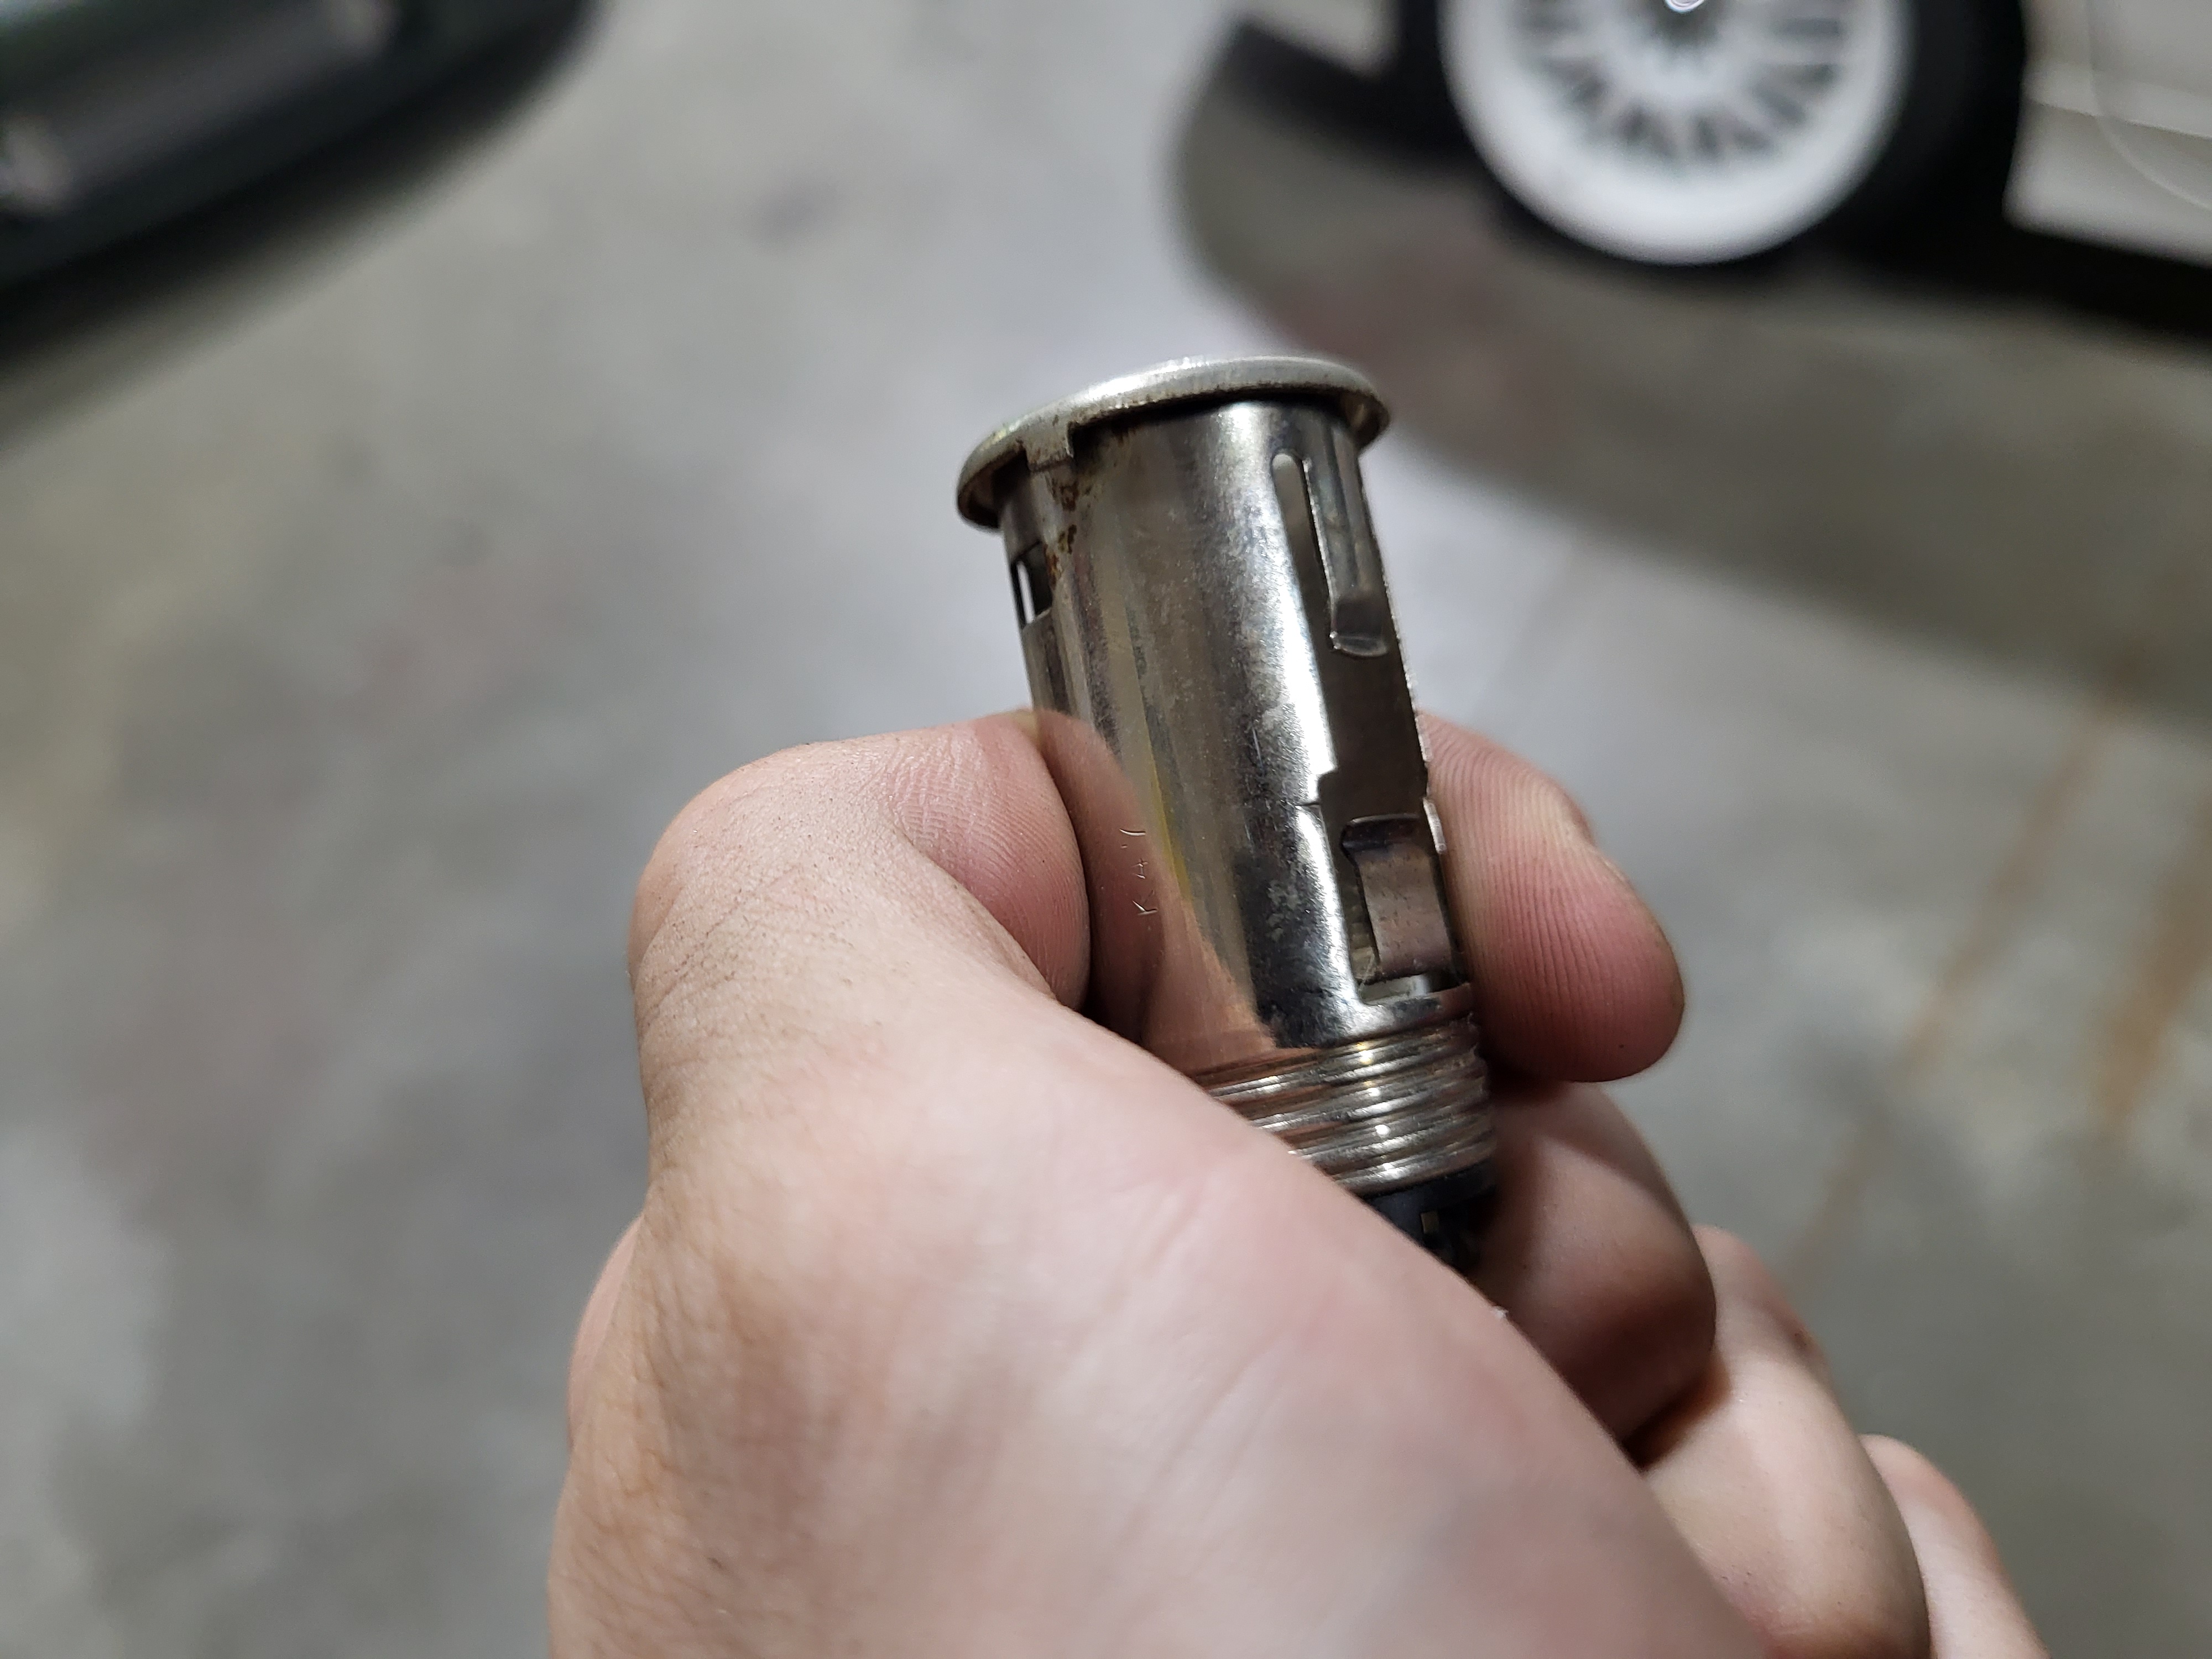
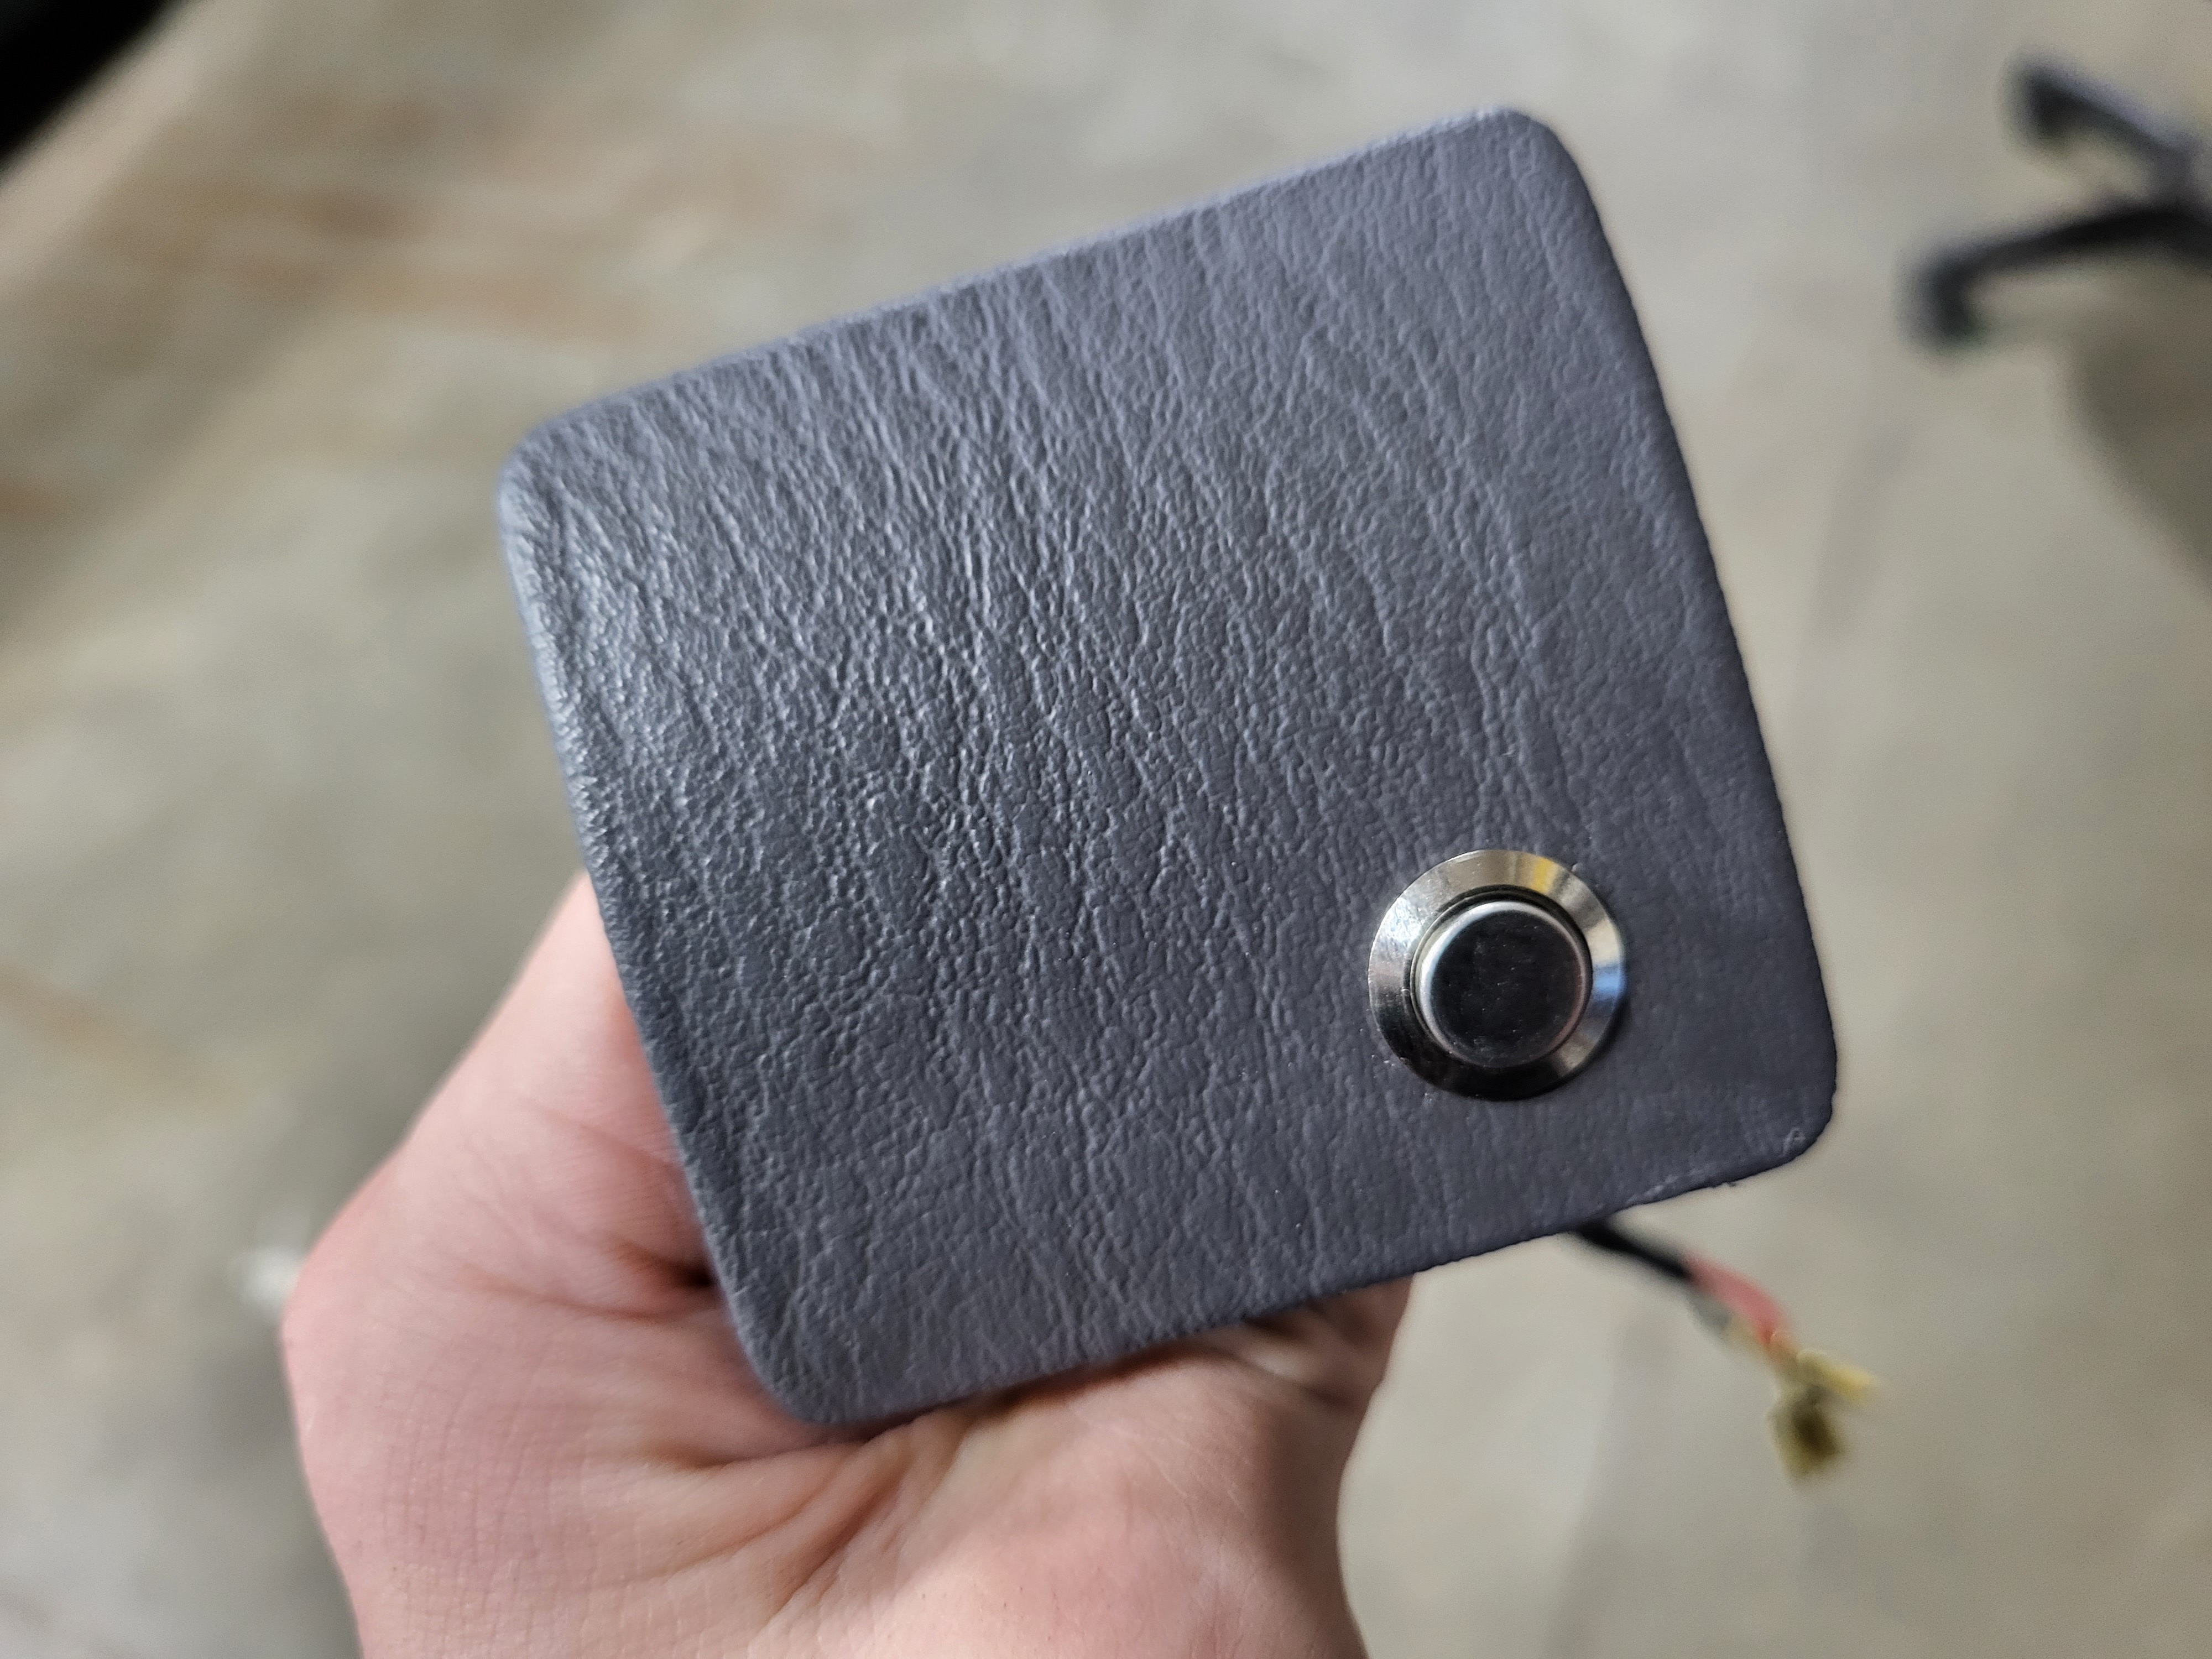
Step 3: Slide the plastic ring onto your new button assembly and insert into cigarette lighter port on center console, then tighten the lock ring on the back. The button should look like this from the front of the console. (Cleaner picture will be provided in future).
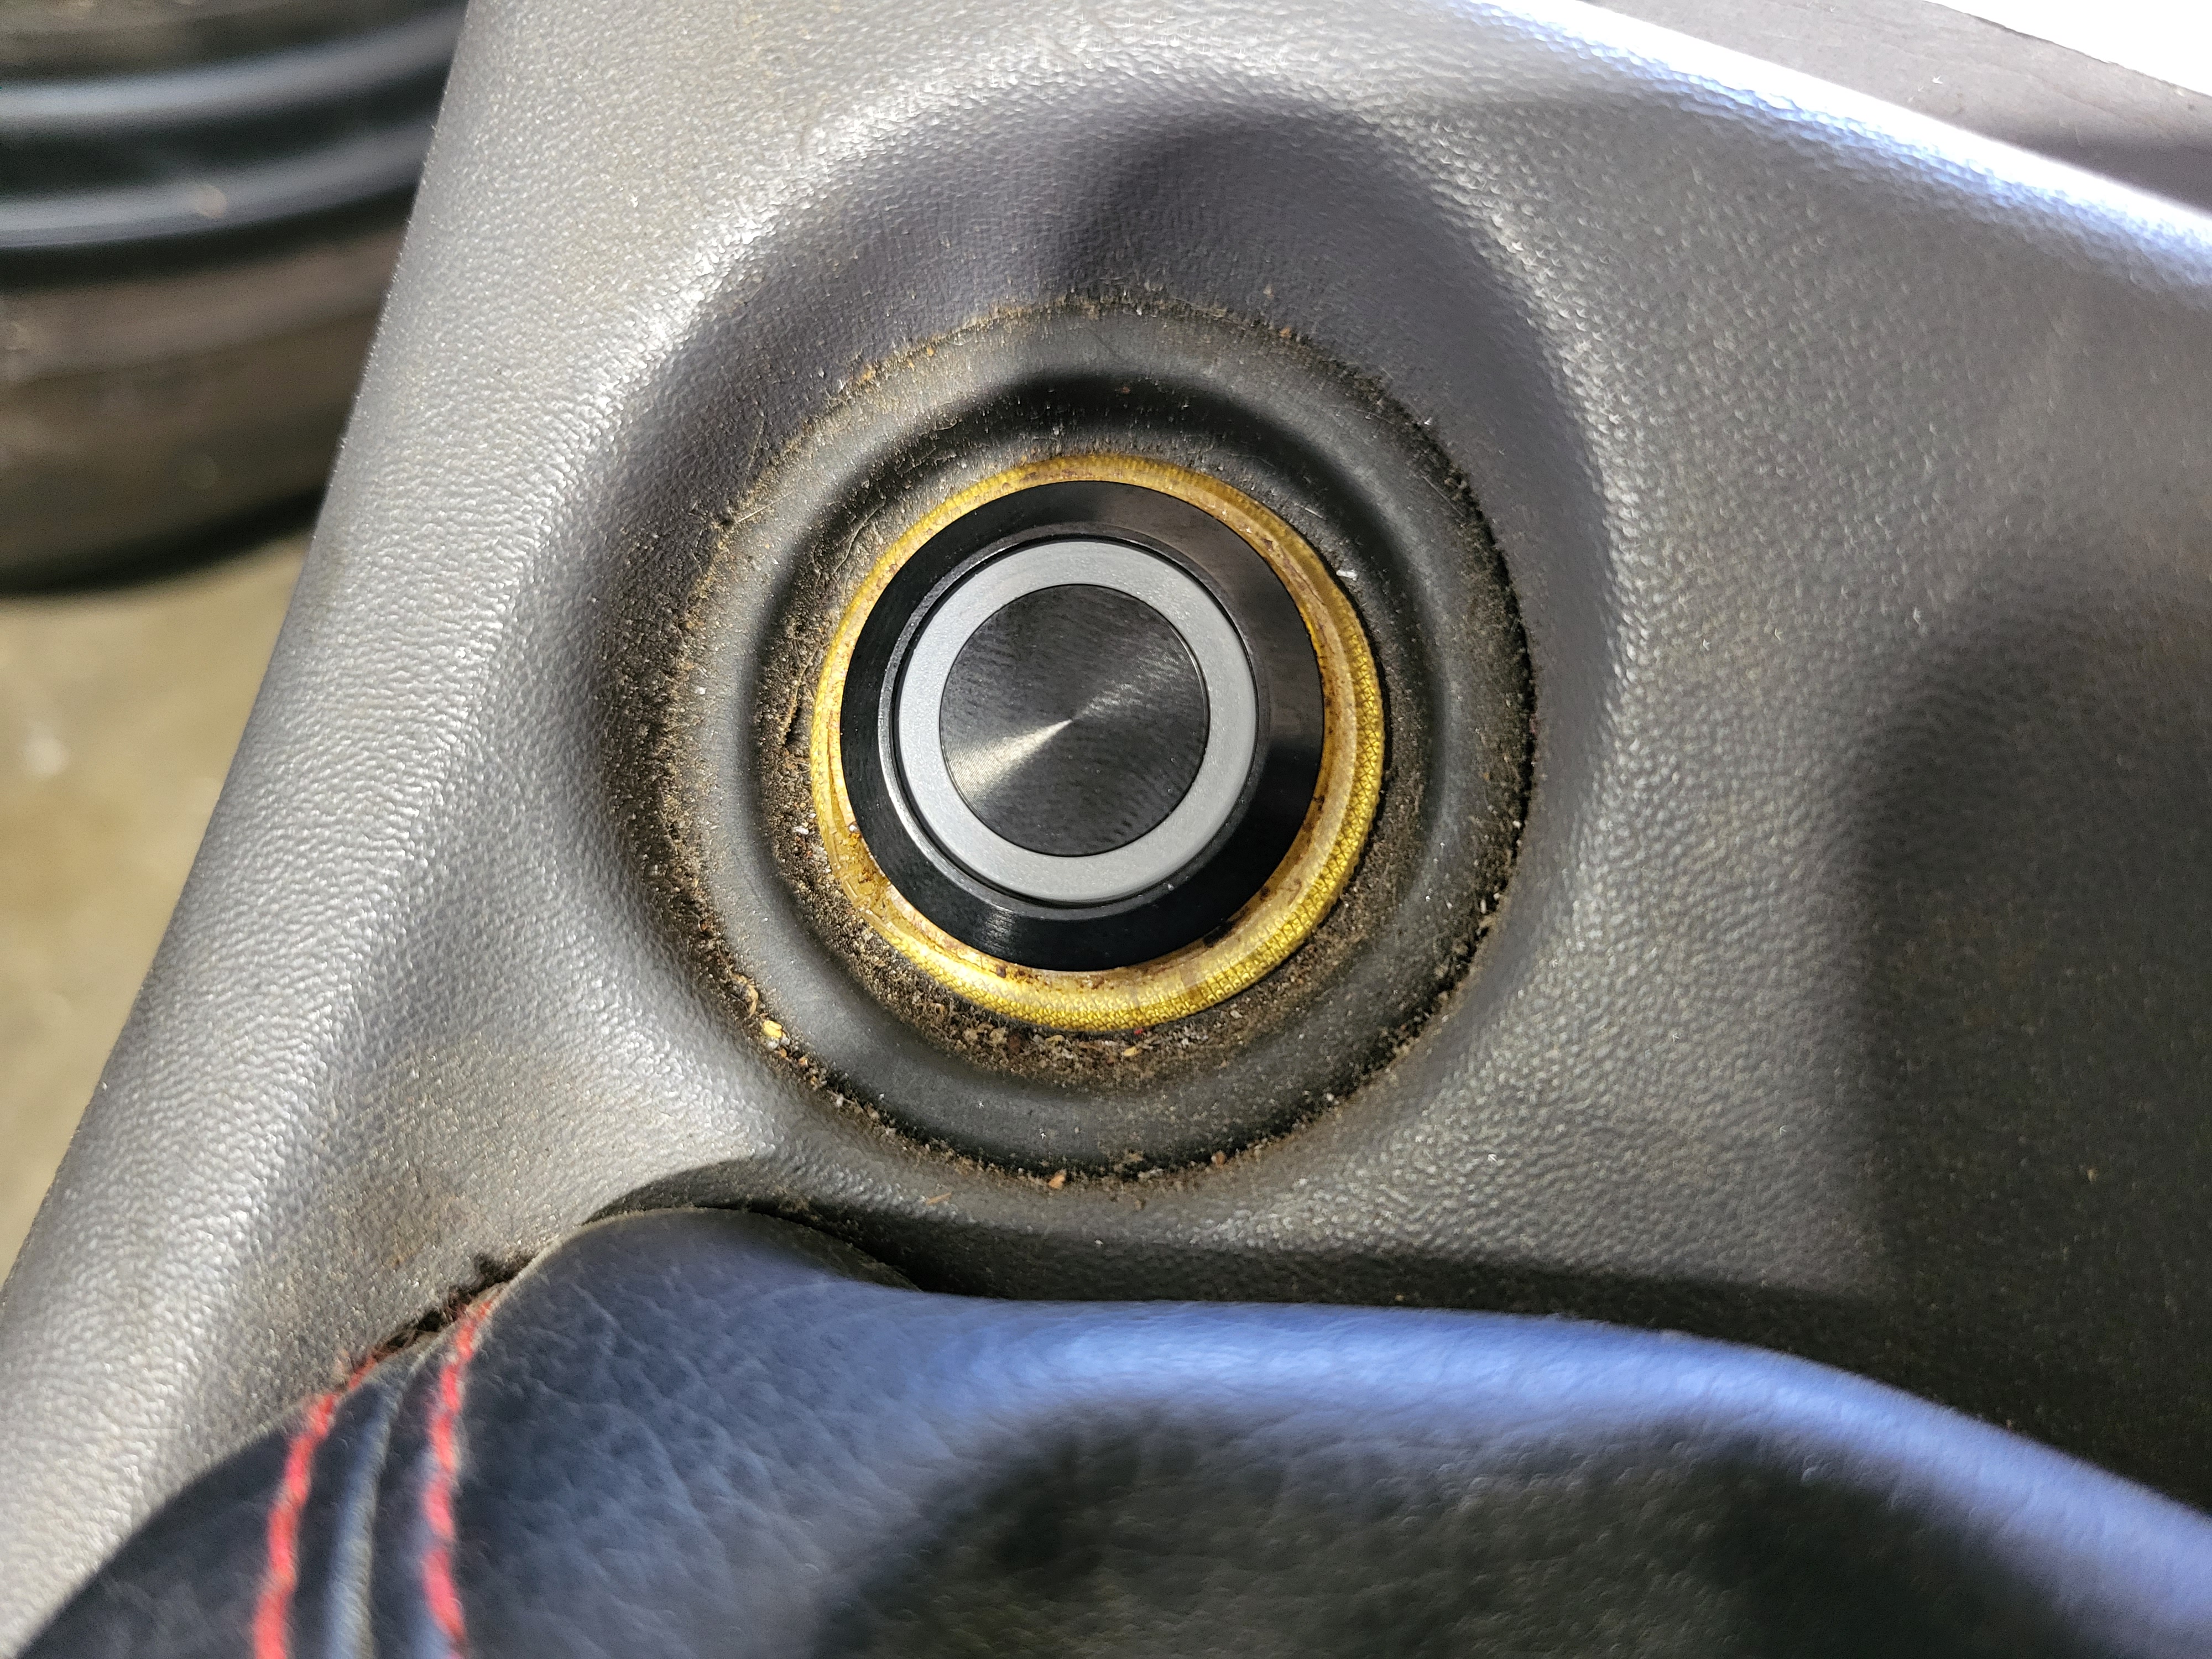
Step 4: *(Optional)* For light up L.E.D ring connect the red wire from the button to the blue wire from the cigarette lighter power source and the black wire from the button to the black wire from the cigarette lighter. This will illuminate a colored L.E.D ring when the button is pressed.
Step 5: Follow remainder of install instructions from drivers side harness install.
------------------------------------------------------------------------------------------------------------------------------------------------------------